As an Amazon Associate GolferHive.com earns from qualifying purchases.
Smart Guide To Golf Wall Art Quality Sizing And Style
Ever wonder why that golf print you bought looks lost on the wall? You picked a beautiful piece, but it just feels… off.
Golf wall art is decorative work featuring golf-related subjects, from scenic course photography to minimalist designs. The challenge isn’t finding art you like; it’s finding high-quality art that fits your space and style without looking tacky or disproportionate. You’re not alone in this struggle.
The three biggest mistakes when buying golf wall art are choosing pieces too small for the space, selecting non-archival prints that fade, and hanging the art at the wrong height. This guide provides a complete framework, using interior design principles and fine art standards, to help you select, size, and display golf art with professional confidence.
Are You Making These Common Golf Wall Art Mistakes?
Many passionate golfers find that their attempts to decorate with the sport they love fall flat. The art ends up looking too small, the colors fade within a year, or the overall effect feels more like a dorm room than a sophisticated study. This frustration is common, but completely avoidable. The problem isn’t your passion for golf; it’s the lack of an expert framework for choosing and displaying the art.
Based on insights from professional curators and interior designers, the path to elevated golf decor rests on three foundational pillars: Quality, Sizing, and Style. By mastering these three concepts, you move from a hopeful guess to an informed decision. You avoid the disappointment of a faded print or a piece that gets dwarfed by your sofa. This guide provides the definitive solution, ensuring your investment not only reflects your passion but also enhances your home’s aesthetic value for decades to come.
The Ultimate 9-Step Framework for Choosing Quality Golf Art
Navigating the world of golf wall decor can feel overwhelming, but a structured approach transforms confusion into clarity. All the ideas presented here follow established interior design principles and fine art conservation standards, guaranteeing your choices lead to both aesthetic success and long-term durability. This 9-step framework breaks down the process into logical stages: defining your style, comparing physical mediums, verifying archival quality, and finally, mastering the practical application of sizing and installation.
1. Defining Your Aesthetic: Minimalist vs. Photographic Style
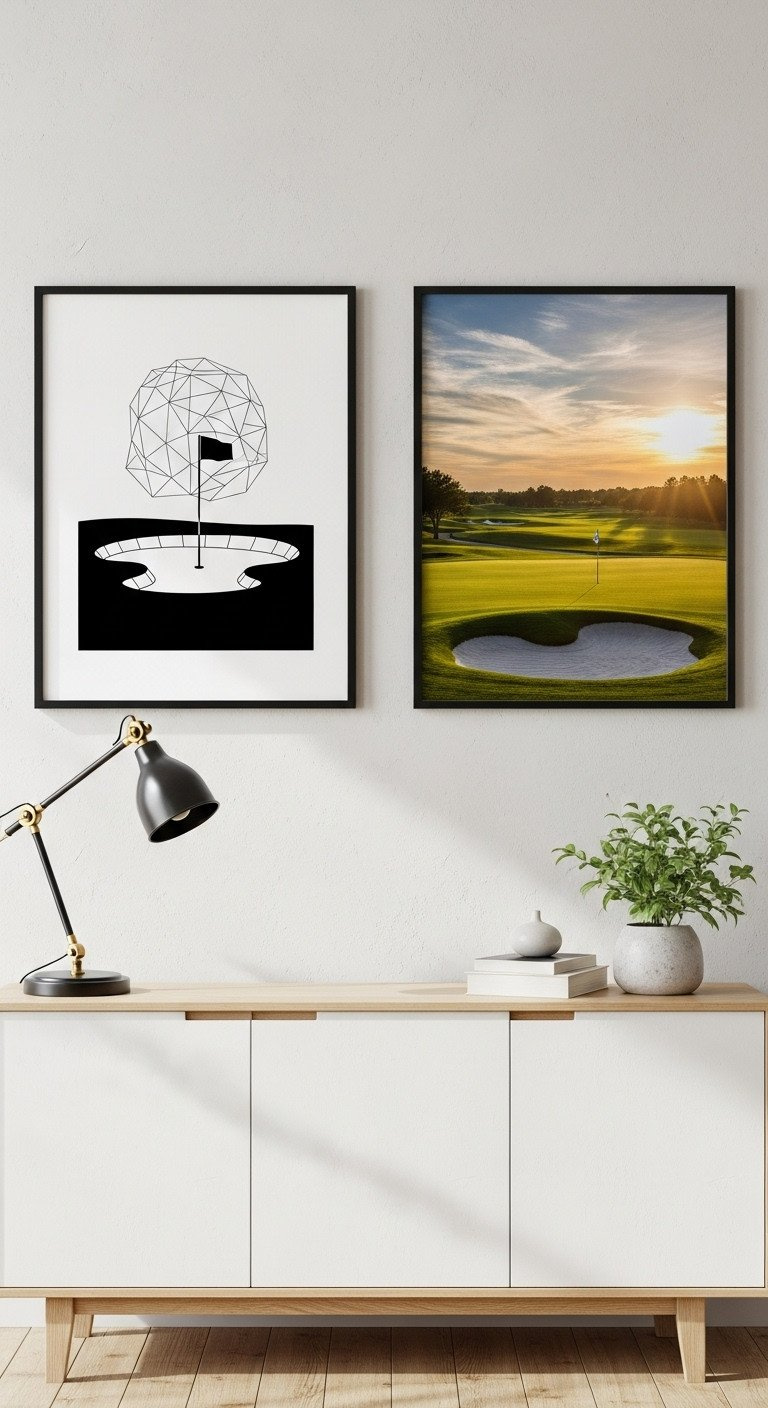
Pin this genius tips to your ‘Dream Golf Decor’ board!
The first step is selecting an artistic style that harmonizes with your existing room decor. The two dominant styles, minimalist and photographic, serve very different aesthetic purposes. Choosing the right one ensures the art complements, rather than clashes with, your space.
Style Comparison Criteria:
- Modern/Minimalist: This style uses subtle themes, clean lines, and geometric shapes—like the curve of a bunker or the silhouette of a flagstick. Paired with thin metal or light wood frames, minimalist golf prints are ideal for modern offices, living rooms, or spaces with a Scandinavian design influence.
- Traditional/Photographic: Featuring vibrant, detailed scenic vistas of iconic holes or entire courses, this style is realistic and emotionally resonant. It works perfectly in traditional man caves, study rooms, or decor with a classic country club feel.
- Vintage/Poster: This category includes historical tournament posters, retro golf designs, or architectural blueprints of famous courses. These pieces often require custom archival framing to preserve their value and prevent degradation.
Decision Steps: Match Style to Room:
- Assess the Room: Is the room’s primary style modern with clean lines and a neutral palette, or traditional with heavier textures and darker woods? Your art should match this existing theme.
- Check for Glare: Brightly lit rooms can cause significant glare on photographic prints. Consider anti-glare museum glass for these, or opt for a matte canvas or minimalist print which handle bright light better.
- Establish Color: If your room is already full of vibrant color, a black and white or minimalist piece can provide a sophisticated, calming counterpoint. In a neutral room, a vibrant color photograph can serve as a powerful focal point.
- Prioritize Subject: Decide what you want the art to communicate. Is it about the pure geometry and architecture of the course (minimalist), or the emotional memory of a specific, beautiful view (photography)?
Pro-Tip: If using black and white prints, use thin, dark metal frames to enhance the contrast and maintain a sophisticated, gallery-ready appearance.
2. Comparing Mediums: Canvas, Framed Prints, and Metal
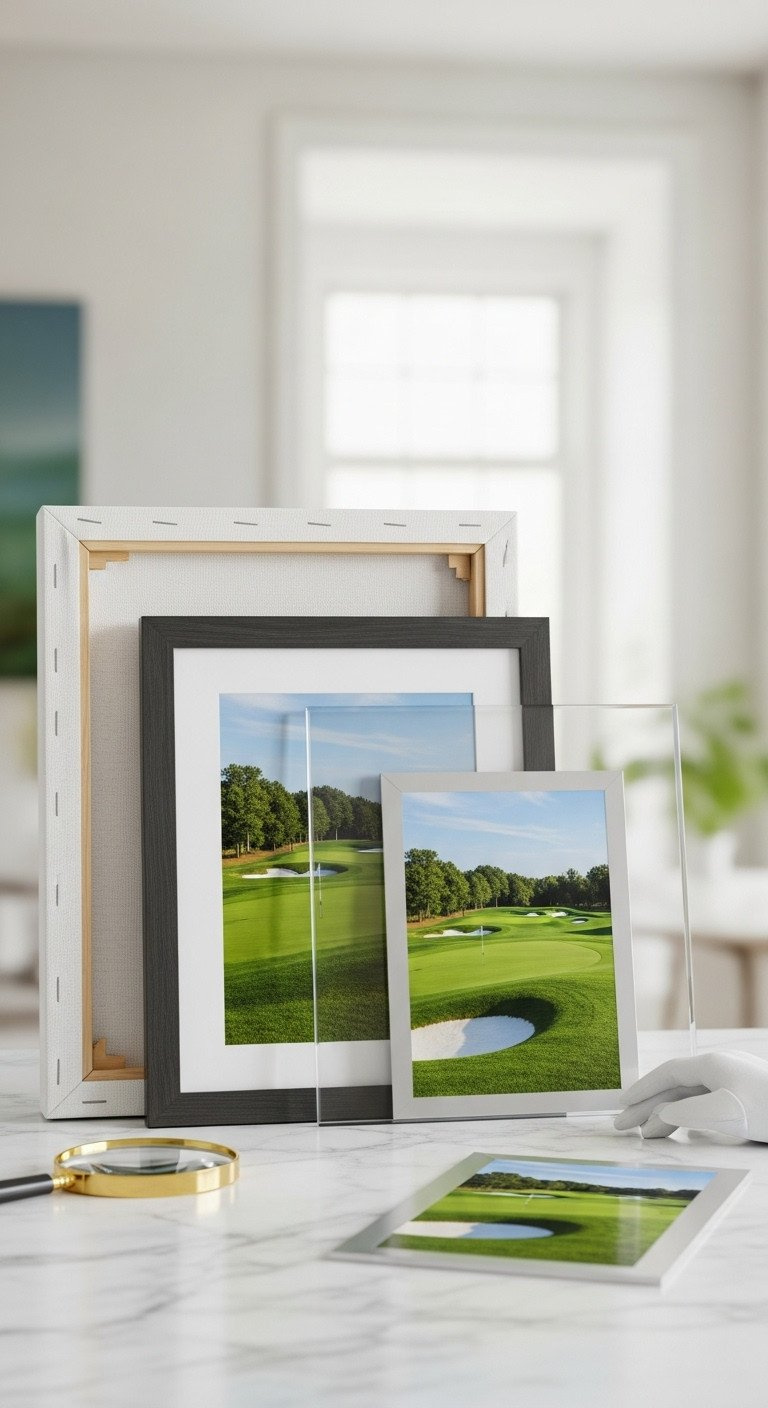
Save this clever medium comparison chart!
After defining your style, the next crucial decision is the physical medium. Each material—canvas, framed paper, or metal—offers a distinct look, feel, and level of durability. Understanding these differences is key to choosing a piece that meets your aesthetic goals and environmental needs.
Essential Comparison Criteria:
- Canvas Art: Offers a wonderful depth and texture that feels painterly and substantial. It’s often lighter and more affordable for large formats, and its matte surface minimizes glare. The downside is that fine details can be slightly blurred by the fabric’s weave, and it offers no inherent UV protection unless a special top-coat is applied.
- Framed Paper Prints: Provides the highest potential for resolution and sharp detail, making it the required medium for archival or collectible prints like high-resolution photography. The downside is that they are heavy, can suffer from severe glare without an upgrade to museum glass, and the cost of quality custom framing can be significant.
- Metal/Acrylic Prints: These are extremely modern, highly durable, and produce a high-gloss finish with vibrant color saturation. However, they are often the most expensive option and their highly reflective surface can create distracting glare in many lighting conditions.
Decision Steps: Selecting the Right Medium:
- Assess Lighting: For rooms with direct, bright sunlight, such as a sunroom or office, prioritize matte canvas or a framed print with specialized anti-glare glazing to ensure the art is always visible.
- Determine Detail Need: If the artwork is a detailed golf course map or a high-resolution photograph where every blade of grass matters, a framed paper print is the best choice to maximize sharpness and clarity.
- Check Longevity Requirements: For a true heirloom piece or a high-investment artwork, a framed paper print paired with UV conservation glass offers the highest level of long-term protection against fading and environmental damage.
- Consider Visual Weight: Lightweight canvas is easy to hang and requires minimal hardware. Heavy metal prints or large framed pieces often require professional mounting and specialized wall anchors to be installed safely.
Pro-Tip: When choosing canvas, always ensure it is “gallery-wrapped” (where the image continues around the sides of the frame) and professionally stretched on a solid wood frame to prevent sagging over time.
3. The Giclée Difference: Why Archival Quality Matters
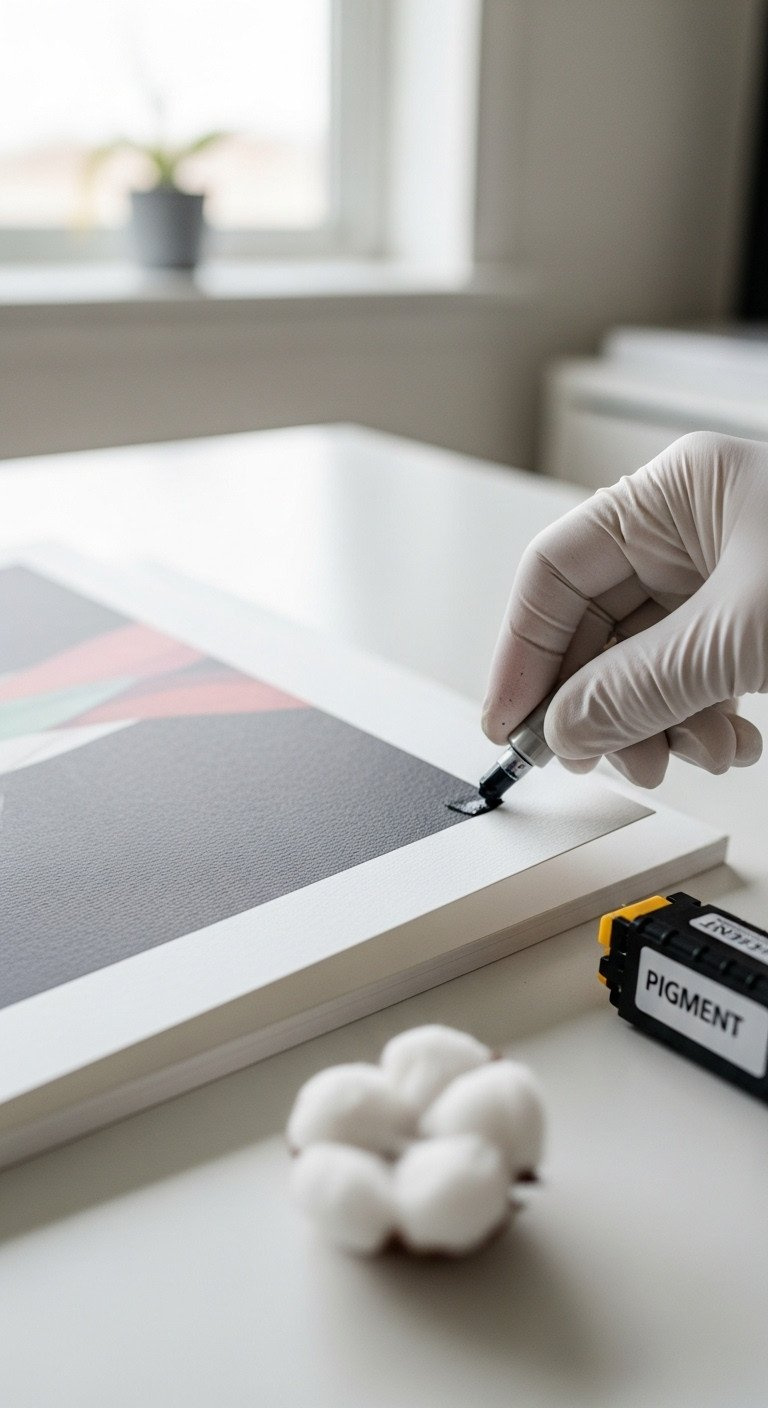
Pin this quality guide for lifetime art preservation!
To ensure your purchase is a long-term investment rather than a temporary decoration, you must understand the technical difference between a standard poster and a fine art print. Terms like “Giclée” and “archival” aren’t just marketing buzzwords; they are guarantees of quality and longevity that justify a higher price point.
Archival Checklist Criteria:
- Inks: The single most important factor is the use of pigment-based inks. Unlike cheaper dye-based inks that soak into the paper and fade quickly, pigment inks are made of microscopic solid particles that sit on top of the paper fibers. This makes them highly resistant to UV light and ensures color stability for over 100 years.
- Paper/Substrate: The printing surface must be acid-free, often made from cotton rag or alpha-cellulose. Acidic paper will yellow and become brittle over time. Look for a minimum paper weight of 250 gsm (grams per square meter) for a substantial, high-quality feel.
- Resolution: For large prints, the source image file must be at least 300 DPI (dots per inch). This high resolution prevents the image from looking pixelated or blurry when viewed up close, preserving the crisp details of the golf course photography or design.
Action Steps: Verifying Giclée Prints:
- Ask for Specifications: When buying, specifically ask the vendor if the prints use pigment inks and acid-free archival media. If they cannot confirm these details, you should assume they are standard decorative prints with a limited lifespan.
- Check Certificate: A high-quality Giclée print should come with a Certificate of Authenticity or an Archival Guarantee that details the exact paper and ink technology used in its creation.
- Inspect the Texture: True Giclée prints on fine art paper often have a subtle texture and a rich, non-shiny depth that cheaper, smooth dye prints on glossy photo paper lack.
- Factor in Framing: Remember that even the highest quality print is vulnerable without protection. The conservation process is only complete when the print is mounted with acid-free materials and protected by UV-filtering glazing.
Pro-Tip: Standard dye-based prints can show noticeable fading and color shift in as little as 6 months if exposed to regular, direct sunlight. Investing in Giclée protects your emotional connection to the image and your financial investment in the art.
4. The Critical Role of UV Protection and Glazing
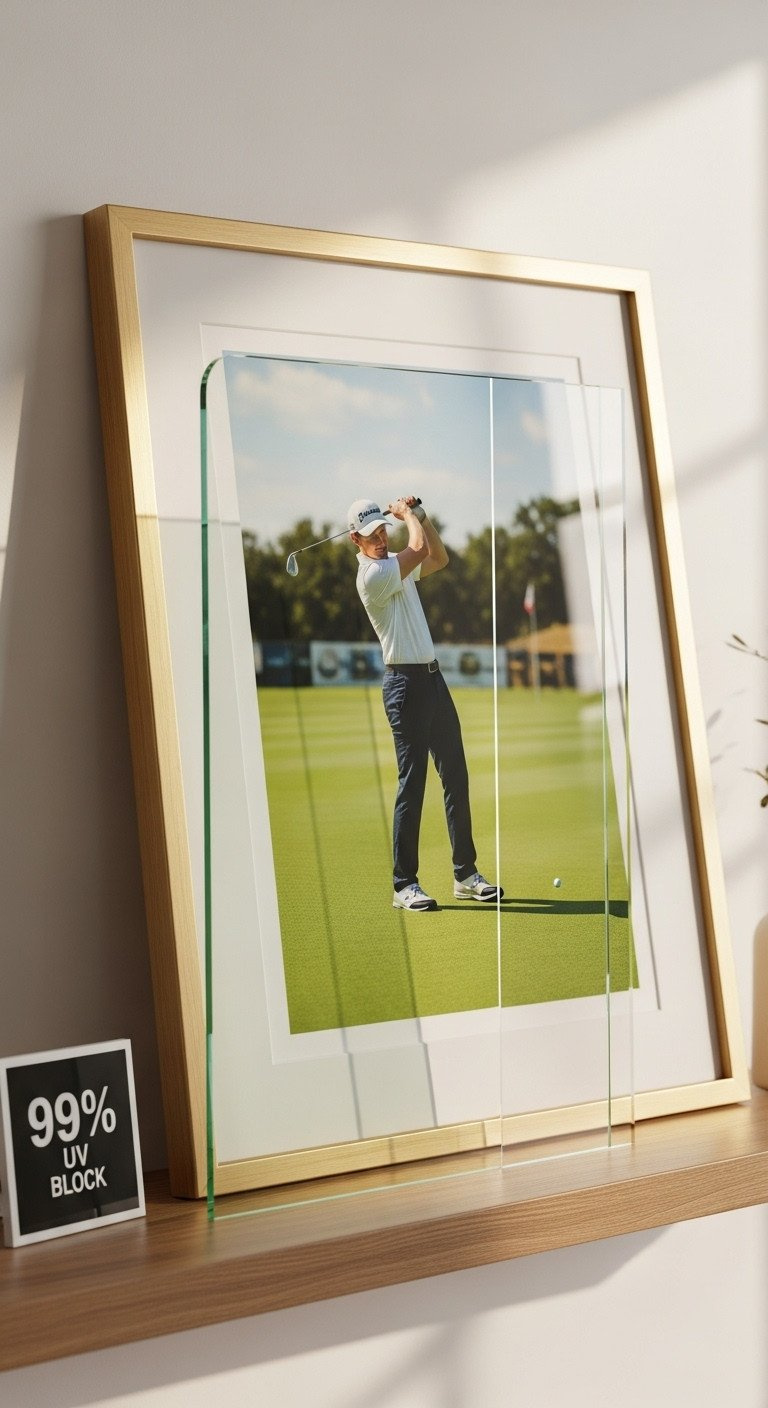
Don’t skip this step for print longevity! Save this guide!
For framed art, the “glass” you choose is just as important as the print itself. Glazing (the clear protective layer) serves two functions: protecting the art from physical damage and shielding it from harmful ultraviolet (UV) light, the primary cause of fading. It also plays a huge role in how you view the art by controlling glare.
Glazing Material Options:
- Standard Glass/Acrylic: This is the cheapest option but offers little to no UV protection and creates severe, distracting glare. It is only suitable for temporary displays or in rooms with no natural light.
- Conservation Glass/Acrylic: This is the minimum standard for any valuable print. It blocks 97% or more of harmful UV rays, preventing the ink and paper from deteriorating over time. This is a must-have for protecting archival Giclée prints.
- Museum Glass/Acrylic: This is the premium choice. It blocks 99%+ of UV rays and includes a sophisticated anti-reflective coating that makes the glazing almost invisible. It is the best possible option for brightly lit rooms or for displaying high-value art where clarity is paramount.
Step-by-Step Glazing Decision:
- Assess Sunlight Exposure: If the wall where you plan to hang the art receives direct sunlight for even one hour per day, conservation-grade glazing is mandatory to prevent rapid fading.
- Evaluate Budget vs. Clarity: If your budget allows, upgrading from conservation to museum glass is one of the most impactful improvements you can make. The dramatic reduction in glare significantly enhances the viewing experience.
- Acrylic vs. Glass: For very large pieces or high-traffic areas, acrylic (Plexiglass) is a safer choice as it’s lighter and shatterproof. However, it can scratch more easily than glass. Glass provides superior clarity but is heavier and more fragile.
- Require Specifications: When purchasing ready-to-hang framed art, don’t just accept “UV protection.” Confirm the specific percentage of UV light blocked, and aim for 97% or higher.
Pro-Tip: Standard glass and acrylic offer little to no UV protection. UV rays are the primary cause of color fading and paper yellowing, even if the light isn’t direct. Think of it as sunscreen for your art.
5. Mastering Art Sizing with the 2/3 Rule
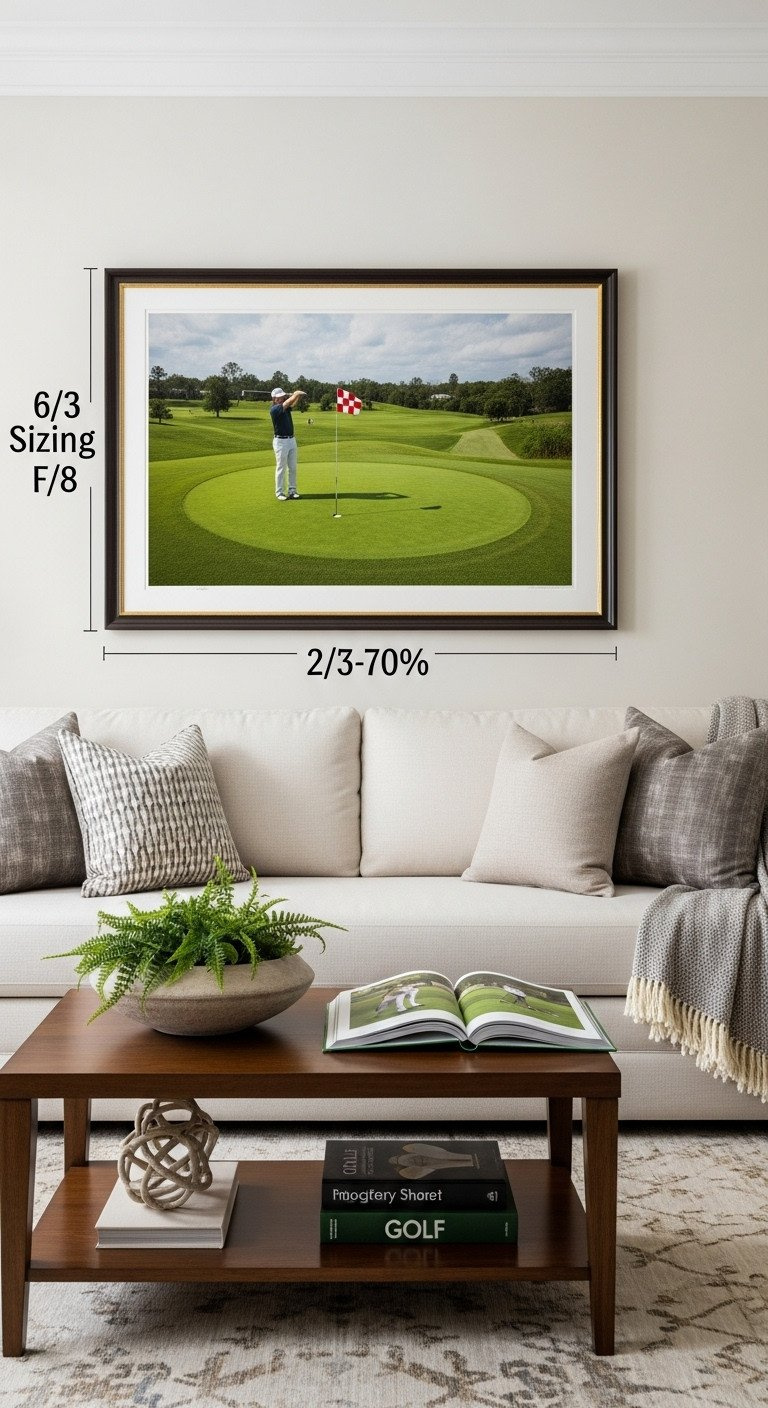
Never buy the wrong size again! Save this sizing cheat sheet!
One of the most common decor mistakes is choosing art that is too small for the wall. A piece that looks large in a store can feel tiny and lost once it’s above your sofa. Interior designers use a simple but powerful guideline called the 2/3 Rule to ensure art is perfectly scaled to the space.
Materials Needed for Sizing:
- Measuring Tape
- Calculator
- Roll of low-tack Painter’s Tape
- Pencil
Step-by-Step Sizing Directions:
- Measure the Anchor: First, measure the total width of the furniture the art will hang above, such as your sofa, credenza, or headboard. This measurement is your “foundation width” (W).
- Apply the 2/3 Rule: Multiply your foundation width (W) by 0.67 (which is 2/3). The result is the minimum recommended width for the art or gallery cluster you plan to hang. (Formula: W x 0.67 = Minimum Art Width).
- Establish Max Width: To keep the art visually grounded by the furniture, it shouldn’t be wider than the furniture itself. A good maximum width is about three-quarters of the furniture’s width. Multiply the foundation width (W) by 0.75 for this number.
- Mock Up Dimensions: Before you buy, use painter’s tape to physically outline your calculated art width and height on the wall. Step back about 10 feet. This simple mock-up allows you to see and feel the scale in your actual room, confirming your choice before you spend a dollar.
Pro-Tip: When dealing with very large, empty walls without an anchoring piece of furniture, the art should fill 60-70% of the available vertical space and 40-50% of the horizontal space to act as a proper focal point and avoid looking adrift.
6. Installing Art Correctly: The 57-Inch Rule
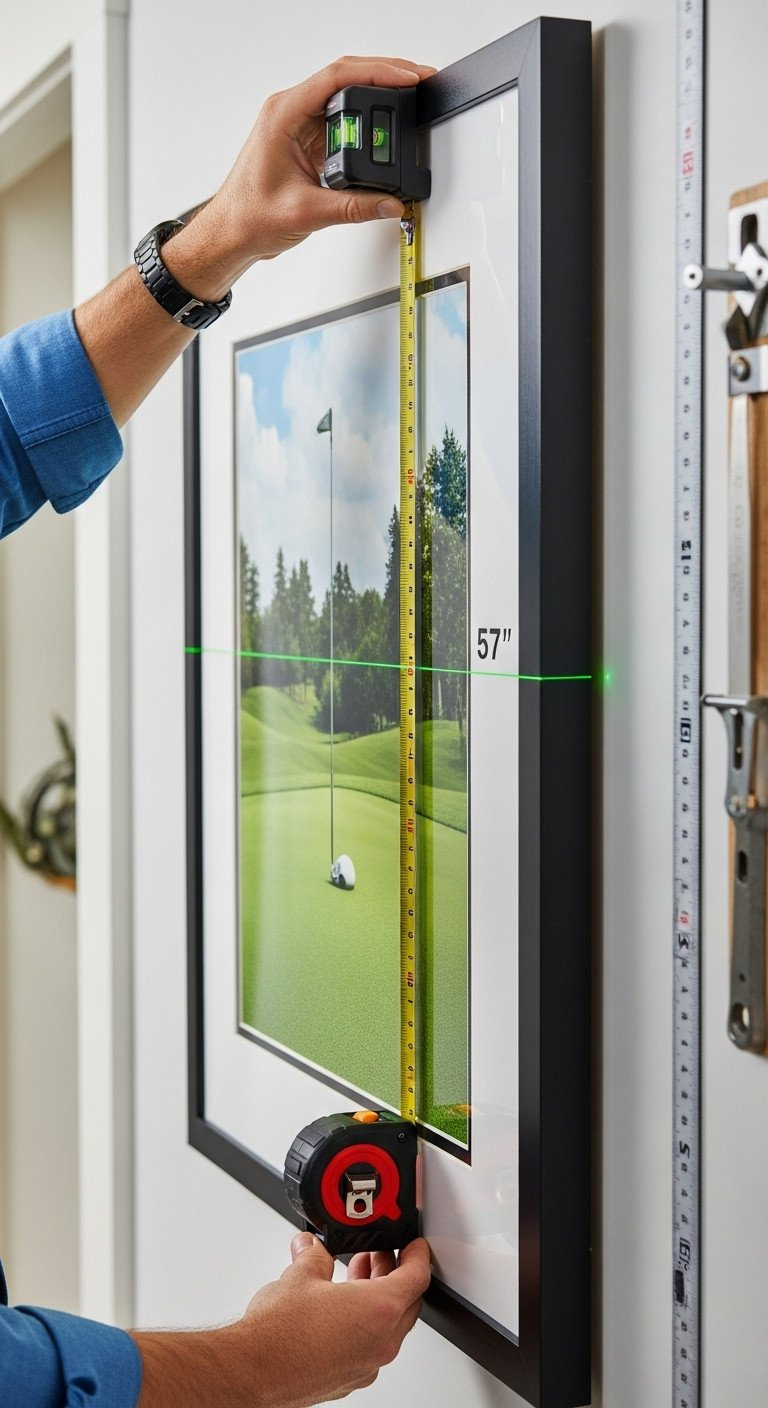
Hang your art like a pro interior designer! Save this tip!
After carefully selecting the perfect piece, the final step is hanging it correctly. Hanging art too high is another extremely common mistake. Art galleries and museums follow a standard guideline to ensure work is displayed at the average human eye level, known as the 57-Inch Rule.
Materials Needed for Installation:
- Laser Level or Traditional Level
- Measuring Tape
- Pencil
- Stud Finder (highly recommended for heavy frames)
- Heavy-Duty Wall Anchors (toggle or molly bolts suitable for your wall type)
- D-Ring Hangers (rated for at least double the art’s weight)
Step-by-Step 57-Inch Installation:
- Find the Center: On the back of your art piece, find and mark the exact vertical and horizontal midpoint. This is the center point of the artwork.
- Mark the Wall: Measure 57 inches up from the floor and make a light pencil mark on the wall. This mark represents where the center point of your art should be.
- Measure Hanging Distance: On the back of the art, measure the distance from the center point up to the contact point of your hanging hardware (the top of the D-ring or the peak of the taut hanging wire).
- Final Placement: Measure up from your 57-inch mark by the distance you found in Step 3. Make a new mark. This final mark is where your nail or anchor screw will go.
- Secure the Hardware: For stability, especially with heavy framed pieces, it is best practice to use two anchors spaced 16-18 inches apart instead of a single central hook. This prevents the frame from shifting and becoming unlevel over time.
Pro-Tip: If you are hanging art above a piece of furniture like a sofa or console table, the bottom edge of the frame should be 6-8 inches above the top of the furniture. This creates a visual connection and prevents the arrangement from looking disjointed.
7. Curating the Perfect Golf Gallery Wall Layout
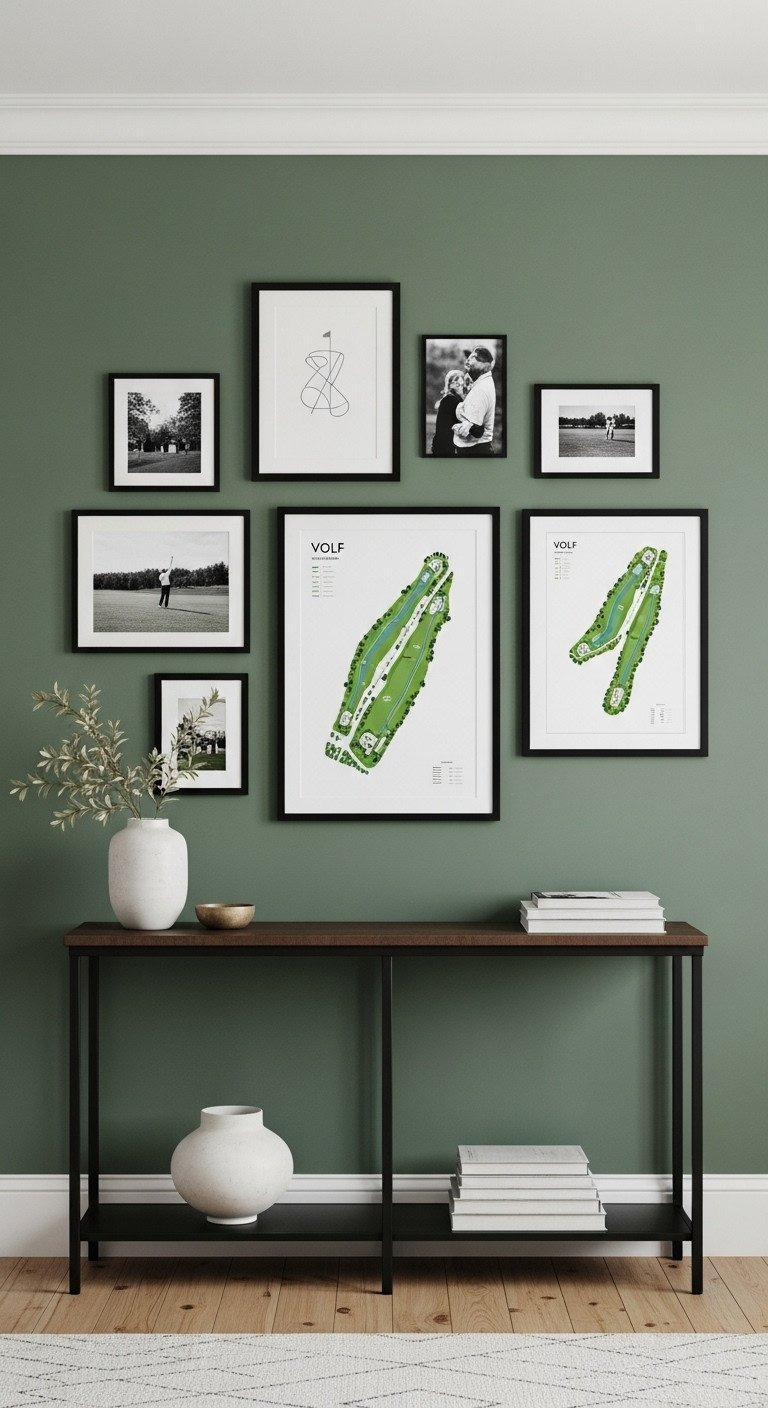
Save this step-by-step gallery wall template!
For a large or empty wall, a gallery wall—a curated cluster of multiple smaller prints—can create a powerful visual statement. The key to success is careful planning and consistency to avoid a cluttered, chaotic look.
Materials Needed for Gallery Wall:
- Template Paper: A roll of craft or butcher paper
- Painter’s Tape
- Level and Measuring Tape
- Matching Frames (essential for creating a cohesive look)
Step-by-Step Gallery Wall Directions:
- Plan the Layout: Before making any holes in the wall, arrange your framed pieces on the floor. Experiment with different layouts (linear, symmetrical, organic) until you find one you love.
- Template the Wall: Trace the outline of each frame onto your template paper, marking where the hanger is on each one. Cut out the paper templates.
- Position the Templates: Using painter’s tape, stick the paper templates to your wall in your chosen arrangement. This allows you to easily adjust the layout without damaging the wall.
- Verify Spacing and Centering: Ensure the spacing between each piece is consistent, typically between 2 to 4 inches. The secret to a professional gallery wall is uniform spacing. Then, treat the entire cluster as a single piece of art and adjust its position on the wall so its collective center point adheres to the 57-inch rule.
- Install Hardware: Hammer your nails or install your anchors directly through the paper templates at the marked hanger spots. Once the hardware is in, simply tear the paper away.
Pro-Tip: To guarantee a cohesive and sophisticated look, always use the same color and material for all frames within a single gallery wall (e.g., all thin black metal frames or all wide white wood frames). Using white matting for each print helps create visual separation and adds valuable negative space.
8. Themed Curations: Golf Art for the Man Cave or Office
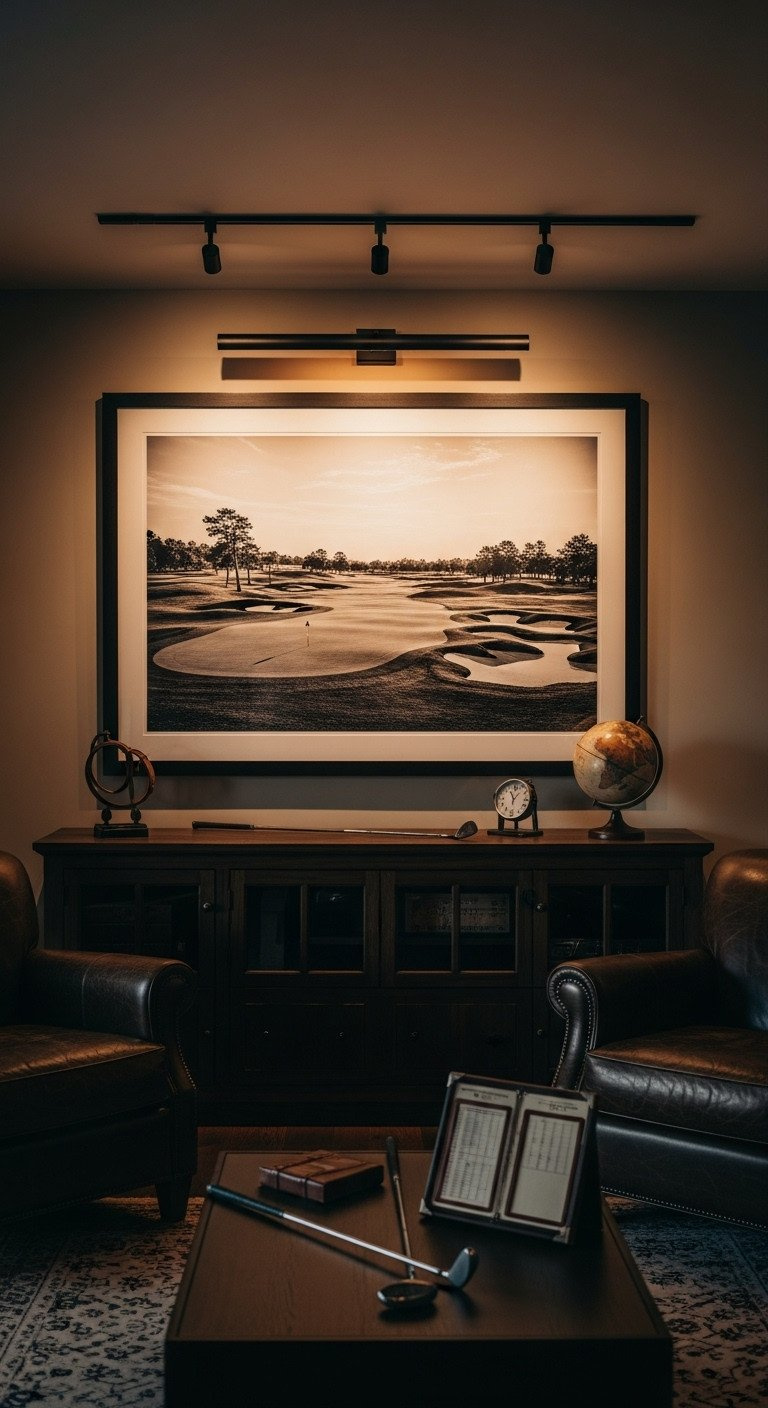
Design your dream golf sanctuary! Pin this mood board idea!
The context of the room should heavily influence your art choices. A piece that works perfectly in a casual man cave might feel out of place in a formal office. Tailoring your selection ensures the art elevates the room’s intended purpose.
Curation Criteria by Room:
- The Man Cave: This space is about drama and personal passion. Go for large format canvas or dark-framed photography. Incorporate functional art like high-resolution course maps or blueprints of famous holes. Styles can be bolder, and vibrant colors are effective, especially if the lighting is controlled and moody.
- The Office: The goal here is sophistication and focus. Opt for smaller, high-quality Giclée framed prints, favoring minimalist or black and white styles. Clean lines, neutral matting, and simple frames ensure a professional look with minimal distraction.
- The Living Room: Aim for subtlety and integration. The art should complement the overall style of your home. Choose pieces that are more abstract or focus on the beautiful architecture of a course rather than overt sports themes.
Action Steps: Integrating Thematic Art:
- Select a Focal Point: In any room, choose one large, high-quality piece (40 inches wide or more) to anchor the space and establish its mood.
- Balance Scale: In a large room like a man cave, a single piece can look lost. Use gallery wall clusters or multiple large canvases to prevent the walls from feeling empty.
- Mix Mediums: Create depth by pairing a large framed print with related memorabilia. For example, a shadow box containing an autographed golf ball or a vintage scorecard can enhance the theme without creating clutter.
- Use Lighting: Install focused accent lighting, like track lighting or a picture light above the frame. This highlights your key pieces, enhances texture (especially on canvas), and is crucial for creating ambiance in dark, moody spaces.
Pro-Tip: Golf course maps, especially those highlighting the architectural elements by famous designers like Alister MacKenzie or Donald Ross, serve as excellent intellectual conversation pieces for an office or study.
9. Long-Term Preservation: Maintenance and Cleaning Guide
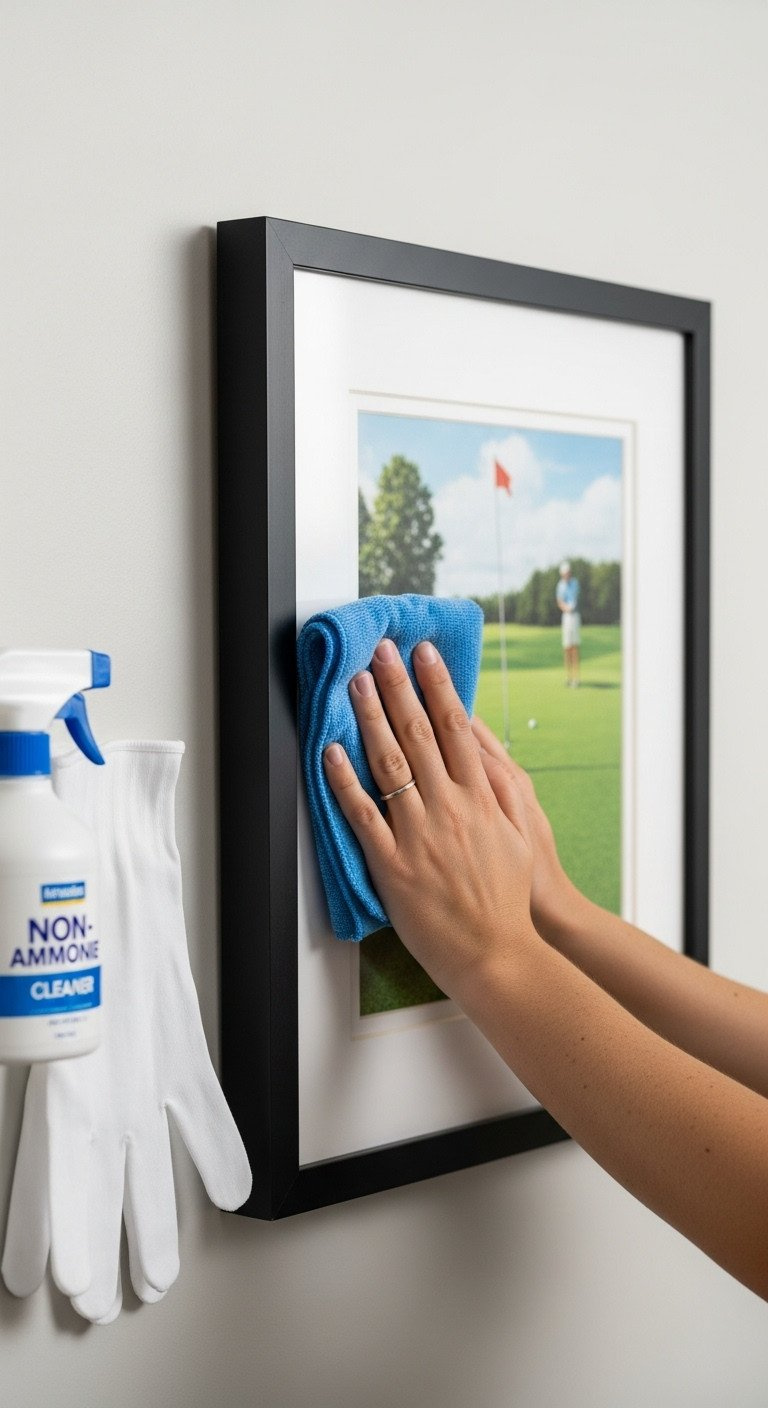
Keep your investment vibrant forever! Save this cleaning routine!
Once your beautiful golf art is on the wall, a simple maintenance routine will ensure it maintains its color fidelity and pristine condition for decades. Improper cleaning can cause irreversible damage, so it’s vital to use the right tools and techniques.
Materials Needed for Maintenance:
- Soft Microfiber or Lint-Free Cloth
- Non-Ammonia Glass Cleaner (for cleaning glass/acrylic only)
- Soft Brush or Feather Duster
- Optional: White Cotton Handling Gloves
Long-Term Care Routine:
- Regular Dusting: Once a month, use a soft, dry microfiber cloth or a feather duster to gently remove dust from the frame and the surface of the glass or canvas.
- Cleaning Framed Glazing: For smudges on glass or acrylic, spray a small amount of non-ammonia glass cleaner onto your cloth first—never spray directly onto the frame. Gently wipe the surface. Ammonia-based cleaners can damage the UV coatings on conservation glass and ruin the finish on wood frames.
- Cleaning Canvas: Canvas prints should only be cleaned with a dry, lint-free cloth. Never use water, solvents, or any cleaning solutions, as they can damage the protective coating or cause the ink to run.
- Humidity Control: A stable environment is crucial. Aim for humidity levels between 40-50% to prevent the warping of paper and canvas frames, and to protect against mold or mildew growth.
- Handling: When moving or re-framing prints, always wear white cotton or nitrile gloves. The oils from your skin can permanently damage the surface of fine art paper.
Pro-Tip: For ornate or antique frames with intricate carvings, use a soft, dry toothbrush to carefully remove dust from the crevices. Follow up with a light buffing using a silicone-free furniture polish to restore its luster.
Key Takeaways: Your Quick Guide to Premium Golf Wall Art
Making a smart, lasting choice in golf wall art comes down to remembering a few core principles derived from fine art and interior design. Keep this checklist handy to ensure every purchase is a confident one.
The Final Three Principles of Golf Art Selection
- Quality is Non-Negotiable: Always verify the use of pigment-based archival inks (Giclée) and acid-free paper. Protect your investment by upgrading to UV conservation glass (97%+ UV block) to prevent fading.
- Sizing is Everything: Never let your art look dwarfed. Use the 2/3 Rule (art width should be 60-75% of the furniture width below it).
- Hanging Must Be Precise: Hang your art so the center point is 57 inches from the floor, regardless of the room height, to align with the average human eye level. Secure heavy pieces with dual D-ring anchors.
People Also Ask About Golf Art Longevity and Framing
What is the average lifespan of a high-quality Giclée golf print?
A true Giclée print using archival pigment inks and acid-free paper, when properly protected by UV conservation glass, is rated to last for 100 to 200 years without significant color shifting or degradation. This longevity is far superior to standard dye-based photo prints, which often show noticeable fading in 5 to 25 years, especially if exposed to light.
Is canvas art truly better than framed prints for glare reduction?
Yes, gallery-wrapped canvas inherently reduces glare because it has a matte, textured surface and lacks a glass or acrylic barrier. Canvas is ideal for brightly lit spaces like sunrooms or offices where reflections are a constant issue. However, framed prints can achieve comparable glare reduction by using specialized Museum-grade anti-reflective glazing.
Should I buy ready-to-hang framed art or frame the print myself?
Ready-to-hang is convenient and affordable for non-archival pieces, but custom framing is essential for maximizing longevity and aesthetic control. For archival Giclée prints, custom framing allows you to verify the use of acid-free matting, specialized UV-protective glass, and a precise frame that perfectly complements your chosen art and interior style.
Final Thoughts on Curating Your Collection
Now that you have mastered the essential secrets of golf wall art quality, sizing, and style—from the Giclée printing process to the 57-inch rule—you are equipped to make a truly informed decision. Stop settling for low-quality posters and create a sophisticated, permanent tribute to your passion. This is not just a purchase; it’s a curation.
Which iconic golf course or architectural style are you planning to feature in your new collection? Share your plans in the comments below
Last update on 2026-01-16 / Affiliate links / Images from Amazon Product Advertising API

