As an Amazon Associate GolferHive.com earns from qualifying purchases.
Create Your Perfect Golf Simulator Man Cave Expert Design Build
Have you ever stood on the tee, rain starting to fall, and wished you could just keep playing? Imagine transforming an underused room, garage, or basement into your own personal golf sanctuary—a Golf Simulator Man Cave where the weather is always perfect and the next round is just steps away. This isn’t just about installing a net; it’s about creating a dedicated, personalized home entertainment space that integrates advanced golf simulation technology with recreational amenities, allowing for year-round practice, game improvement, and leisure.
The journey from a simple room to an immersive golf haven can feel overwhelming. You’re not just choosing equipment; you’re dealing with precise room dimensions, complex technology like launch monitors and projectors, and the nuanced design elements that make a space a true man cave. Concerns about getting the ceiling height right, avoiding costly mistakes with electronics, or simply making it all fit without compromising on safety or style are completely valid. This project is a significant investment of time and resources, and getting it right the first time is crucial.
A golf simulator man cave is a dedicated, personalized home entertainment space integrating advanced golf simulation technology with recreational amenities, allowing year-round practice and leisure regardless of weather conditions. This guide provides expert strategies for its optimal design and build. We will walk you through every critical step, from mastering your space with precise measurements to selecting the right technology and designing the perfect ambiance. Drawing on years of practical build experience and insights from industry professionals, this is the definitive, expert-led guide to turning your vision into a stunning reality.
Create Your Ultimate Golf Simulator Man Cave: The Expert’s Guide to Design & Build
Welcome to the ultimate blueprint for your personal golf sanctuary. Creating a golf simulator man cave is a journey that blends a passion for the game with the art of home design. It’s about more than just technology; it’s about crafting a recreational space that is both a high-performance training facility and a luxurious retreat. This guide is built on years of hands-on build experience and insights from industry pros, designed to empower you with the knowledge to execute your project with confidence. We’ll cover everything from the critical optimal dimensions and core equipment selection to often-overlooked details like acoustic control and dedicated electrical planning, ensuring your final space is nothing short of spectacular.
9 Expert Steps to Create Your Ultimate Golf Simulator Man Cave
Building your dream golf simulator man cave is a process that balances technical precision with personal style. This comprehensive, step-by-step blueprint will guide you through the entire journey, from initial concept to final calibration. Each step is curated from successful real-world builds and refined by expert recommendations to ensure your space is not only functional and safe but also a true reflection of your passion. We’ll cover space planning, component selection, ambiance crafting, and the critical infrastructure that powers it all, providing practical solutions for common challenges along the way.
1. Master Your Space: Precise Room Dimensions & Layout Planning
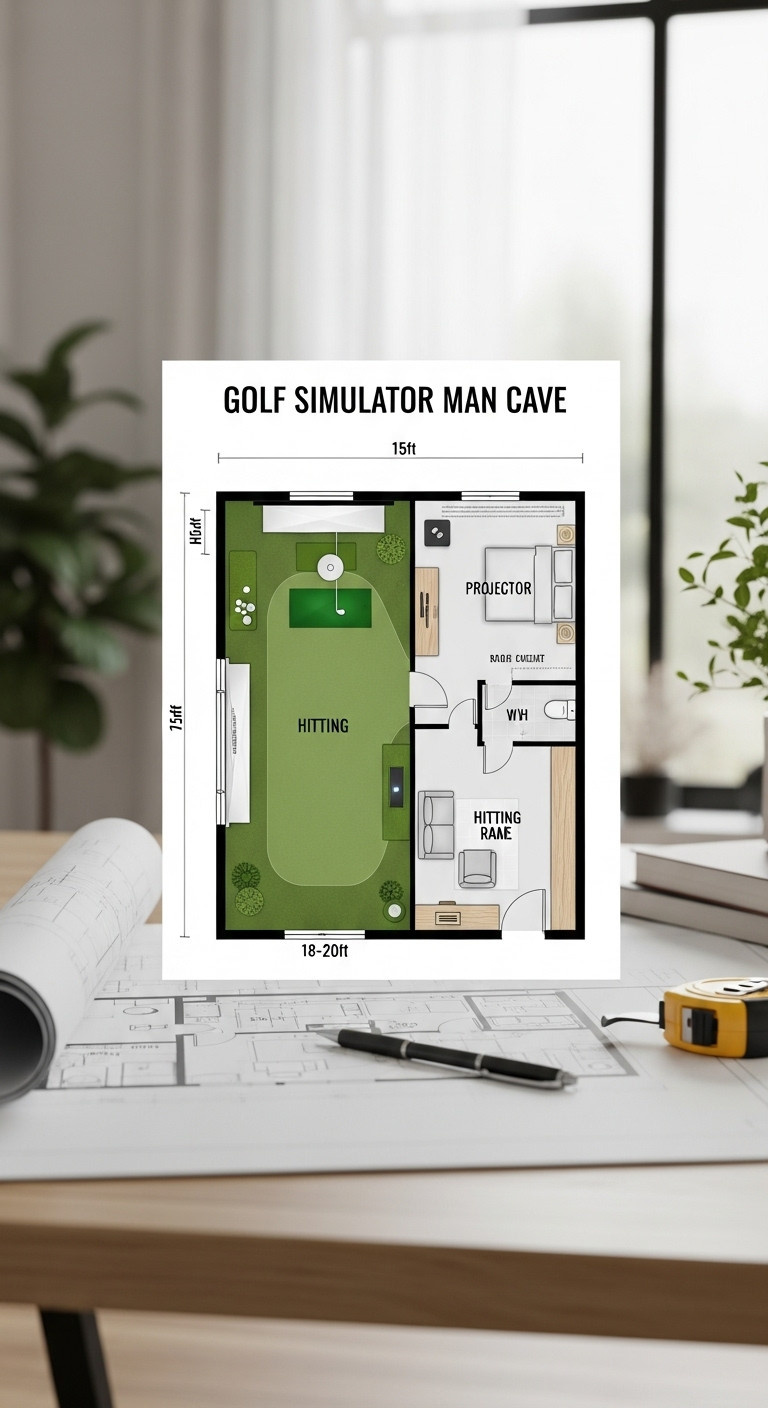
Pin this genius layout hack to your ‘Dream Golf Sim’ board!
H4: Materials Needed:
- Laser Distance Measure (accurate to 1/16 inch)
- Painter’s Tape (for marking layout on floor)
- Graph Paper or 3D Room Design Software (e.g., RoomSketcher, SketchUp)
- Notebook and Pen
H4: Step-by-Step Directions:
- Measure Critical Dimensions: Use your laser measure to get precise height, width, and depth of your chosen room. Note any obstructions like beams, HVAC ducts, or support columns.
- Determine Minimum Requirements: For a full-swing simulator, aim for a minimum of 10-12 feet ceiling height (12ft+ for comfort with drivers), 15 feet width, and 18-20 feet depth.
- Map Swing Clearance: Stand at your intended hitting position and perform a full, uninhibited swing with your longest club (driver). Ensure ample clearance (at least 1-2 feet) from walls, ceiling, and any equipment on all sides.
- Sketch Initial Layouts: Use graph paper or design software to draw possible room configurations. Place the hitting mat, impact screen, projector, and any desired man cave amenities.
- Consider Obstruction Workarounds: If you have low ceilings, explore low-profile hitting mats or specific simulator types (e.g., OptiShot). For narrow rooms, consider a narrower screen or a more compact setup.
- Plan Exit & Entry Points: Ensure clear pathways for entering/exiting the hitting area, especially if an enclosure is used, and for accessing other parts of the man cave.
Pro-Tip: Always account for the tallest golfer who will use the space and the longest club they swing. A few extra inches of clearance can prevent costly damage or injury.
2. Selecting Your Simulator’s Brain: Launch Monitors & Software
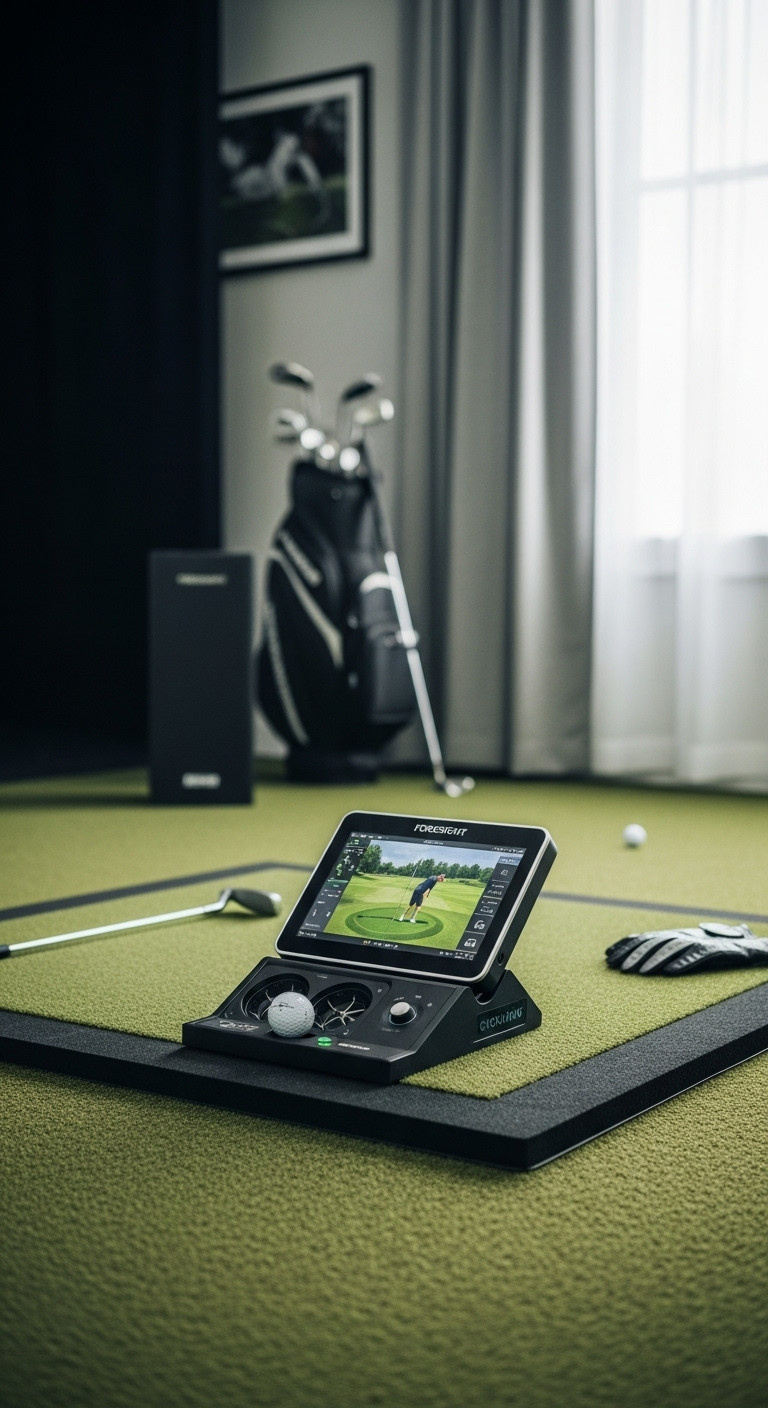
Save this guide to choosing your ultimate golf sim!
H4: Key Launch Monitor Types & Brands:
- Radar-Based (e.g., TrackMan): Tracks club and ball data using Doppler radar. Best for outdoor/indoor flexibility, extremely accurate.
- Photometric (Camera-Based, e.g., Foresight GCQuad, Uneekor EYE XO): Uses high-speed cameras to capture ball data at impact. Excellent indoor accuracy, precise spin measurement.
- Entry-Level/Personal (e.g., SkyTrak, Garmin Approach R10): More affordable, often less detailed data, good for casual users.
H4: Choosing & Integrating Your Software:
- Define Your Priorities: Decide if you prioritize hyper-realistic course play, detailed swing analysis, or fun gamified experiences.
- Research Compatibility: Ensure your chosen launch monitor is compatible with preferred simulation software (e.g., E6 Connect, The Golf Club 2019, GSPro). Many monitors offer their own proprietary software.
- Evaluate Course Libraries: Check the breadth and quality of virtual golf courses available with the software. Look for favorites or renowned tracks.
- Assess Data Analytics: For game improvement, seek software that provides comprehensive swing metrics, ball flight data, and easy-to-understand analytics.
- Consider Subscription Models: Be aware that many premium software platforms require annual subscriptions for full access to courses and features. Factor this into your long-term budget.
Pro-Tip: Don’t get caught up in brand names alone. Focus on the data points each launch monitor provides and how relevant they are to your game improvement goals. For swing path and club face data, photometric monitors often excel indoors.
3. Crystal Clear Views: Projector & Impact Screen Selection
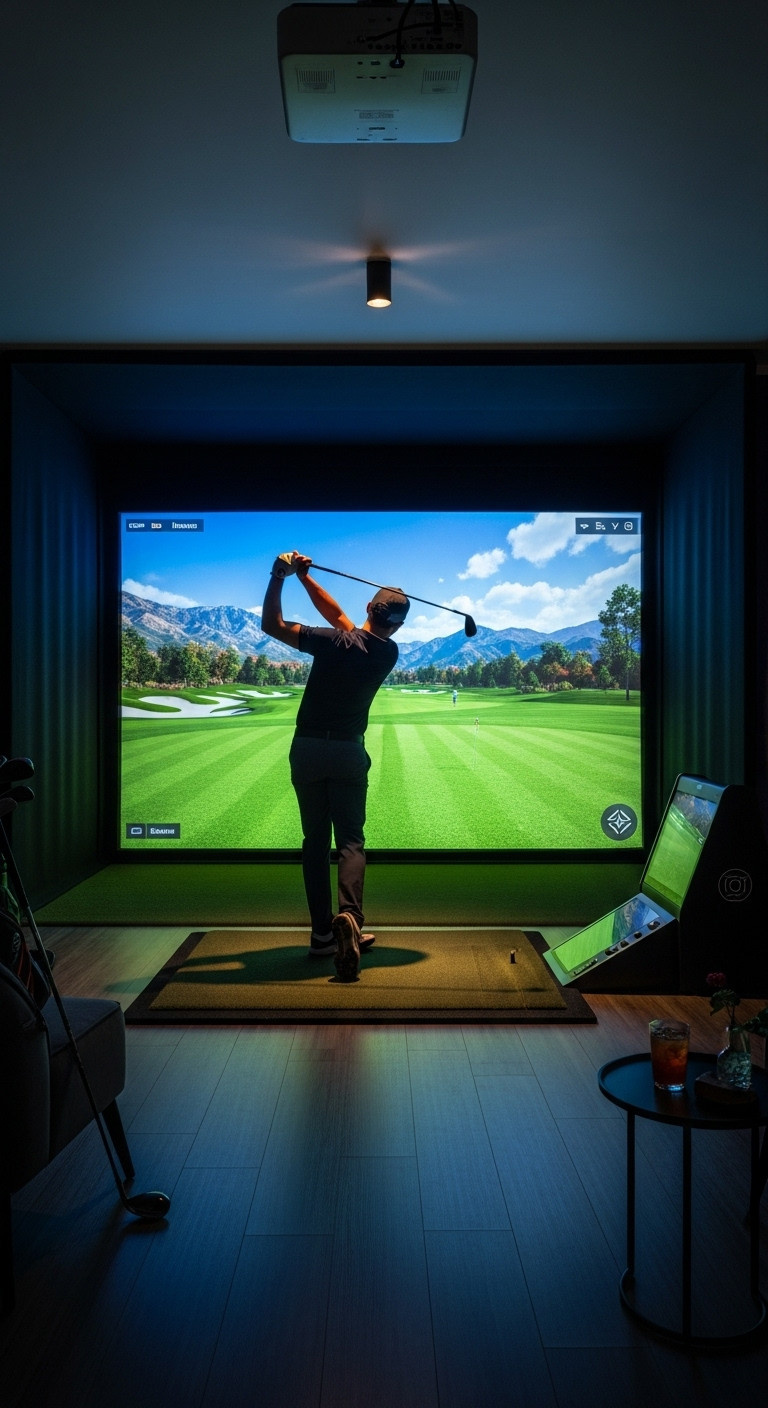
Save this visual guide for your golf sim setup!
H4: Projector & Screen Materials:
- Projector: Short-throw, 1080p or 4K resolution, 3,000-5,000 lumens (or higher for ambient light), high contrast ratio.
- Impact Screen Material: Woven polyester, archery baffle, or specialized layered materials like SuperTex or Premium Impact Screen. Look for quiet, durable options that reduce ball bounce.
- Hitting Mat: A high-density, multi-layer mat that absorbs shock and mimics natural turf feel (e.g., Fiberbuilt, TruStrike).
H4: Matching & Mounting Guide:
- Calculate Throw Distance: Use an online projector calculator (provided by manufacturers) to determine the ideal distance from your projector to the screen based on your room depth and desired screen size.
- Choose Short-Throw for Shadows: Opt for a short-throw projector to minimize shadows cast by the golfer. Mount it overhead, close to the screen.
- Match Resolution: For optimal clarity, choose a projector resolution (1080p or 4K) that matches your simulation software’s capabilities and your screen size.
- Select Screen Size: Ensure your impact screen fills the maximum safe width and height of your hitting area, allowing for a truly immersive experience.
- Secure Mounting: Mount the projector securely to the ceiling using a robust projector mount. Ensure the screen is tensioned evenly across all sides to prevent wrinkles and provide a smooth hitting surface. Use bungee cords or a frame system for screen tensioning.
- Calibrate Display: Once installed, calibrate your projector’s image (keystone, focus, brightness) to fit the screen perfectly and ensure colors are accurate.
Pro-Tip: Ambient light is the enemy of projection quality. Consider blackout curtains or dimmable lighting to control room brightness for the best visual experience.
4. Beyond the Swing: Designing Your Man Cave’s Comfort & Style

Pin these man cave design ideas for ultimate relaxation!
H4: Key Decor & Furniture Elements:
- Comfortable Seating: Leather armchairs, recliners, or a plush sofa for guests and relaxation.
- Integrated Bar/Kitchenette: Mini-fridge, ice maker, beverage dispenser, glassware, bar stools.
- Secondary Media Screen: Flat-screen TV for sports or movies when not golfing, independent sound system.
- Personalized Decor: Golf-themed artwork, vintage golf clubs, sports memorabilia, awards, favorite books.
- Flooring: Area rugs or plush carpeting in lounge zones for comfort and added acoustic absorption.
H4: Styling & Integration Tips:
- Define Zones: Clearly delineate the hitting zone from the lounge/bar area using flooring changes, area rugs, or subtle partitions.
- Prioritize Comfort: Invest in high-quality, comfortable seating that encourages relaxation and extended stays.
- Integrate a Bar: If space allows, a mini-bar adds a significant ‘man cave’ element. Ensure it has adequate refrigeration and counter space.
- Secondary Entertainment: Install a separate TV and sound system in the lounge area so non-golfers or those waiting can enjoy other entertainment.
- Personalize the Space: Display golf memorabilia, trophies, or anything that reflects your passions to make the space truly yours.
- Consider Lighting: Use ambient lighting (e.g., dimmable recessed lights, floor lamps) in the lounge area to create a warm, inviting atmosphere, distinct from the functional lighting of the hitting zone.
Pro-Tip: Ensure any secondary media screens or seating are far enough from the hitting area to guarantee safety from errant shots and not distract the golfer.
5. Silence is Golden: Advanced Acoustic Control for Immersion
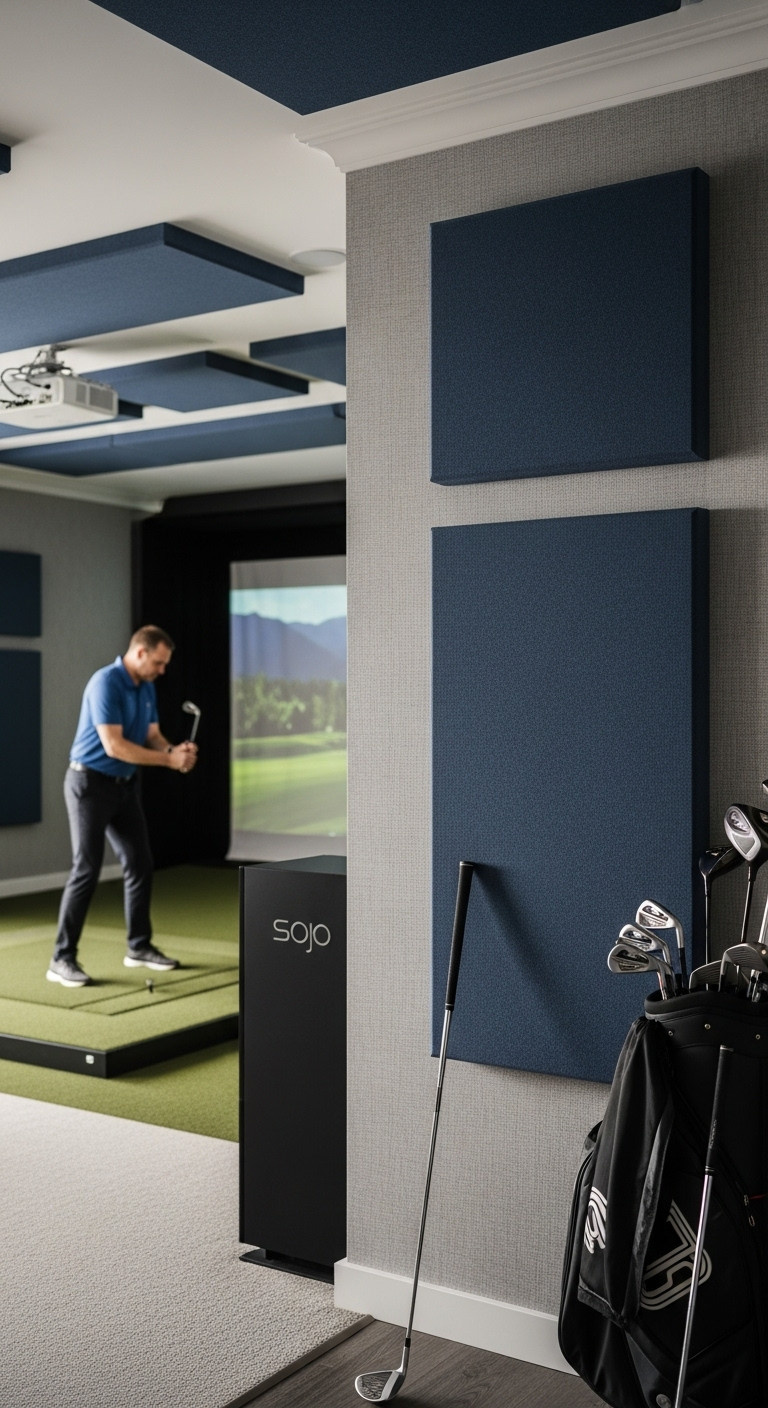
Discover how to perfect your golf sim’s sound with these pro tips!
H4: Acoustic Materials & Tools:
- Acoustic Panels (fabric-wrapped fiberglass or mineral wool)
- Bass Traps (for corner placement)
- Heavy, Dense Curtains (for windows/doors)
- Sound-Deadening Insulation (e.g., rock wool)
- Solid Core Doors or Door Sweeps/Seals
- Acoustically Rated Carpet or Thick Area Rugs
H4: Installation & Placement Guide:
- Identify Problem Areas: Clap your hands loudly in the empty room to pinpoint where echoes are most prominent (typically hard, parallel surfaces).
- Start with the Hitting Area: Focus on placing acoustic panels on walls and ceilings closest to where the ball impacts the screen, and where the golfer swings. This reduces echo from the simulator itself.
- Treat First Reflection Points: Use a mirror to identify where sound reflects from the speakers to your ears. These “first reflection points” on side walls and ceiling are prime spots for acoustic panels.
- Absorb Low Frequencies (Bass Traps): Install bass traps in corners (wall-to-wall or wall-to-ceiling) to manage low-frequency rumble from subwoofers or ball impact, which can travel through structures.
- Block External Noise (Soundproofing): For serious noise reduction (e.g., if sim is near a bedroom), consider adding mass to walls and sealing gaps. This involves installing sound-deadening insulation within walls, using solid-core doors, and sealing door/window perimeters with acoustic seals.
- Add Soft Furnishings: Incorporate thick carpeting, heavy curtains, and upholstered furniture in the lounge area to naturally absorb sound.
Pro-Tip: Proper acoustic treatment enhances not only the golf simulation sound effects but also the overall audio experience for movies or music in your man cave. Don’t confuse sound absorption (reducing echo) with soundproofing (blocking noise transmission).
6. Powering Your Perfect Play: Electrical & HVAC Planning
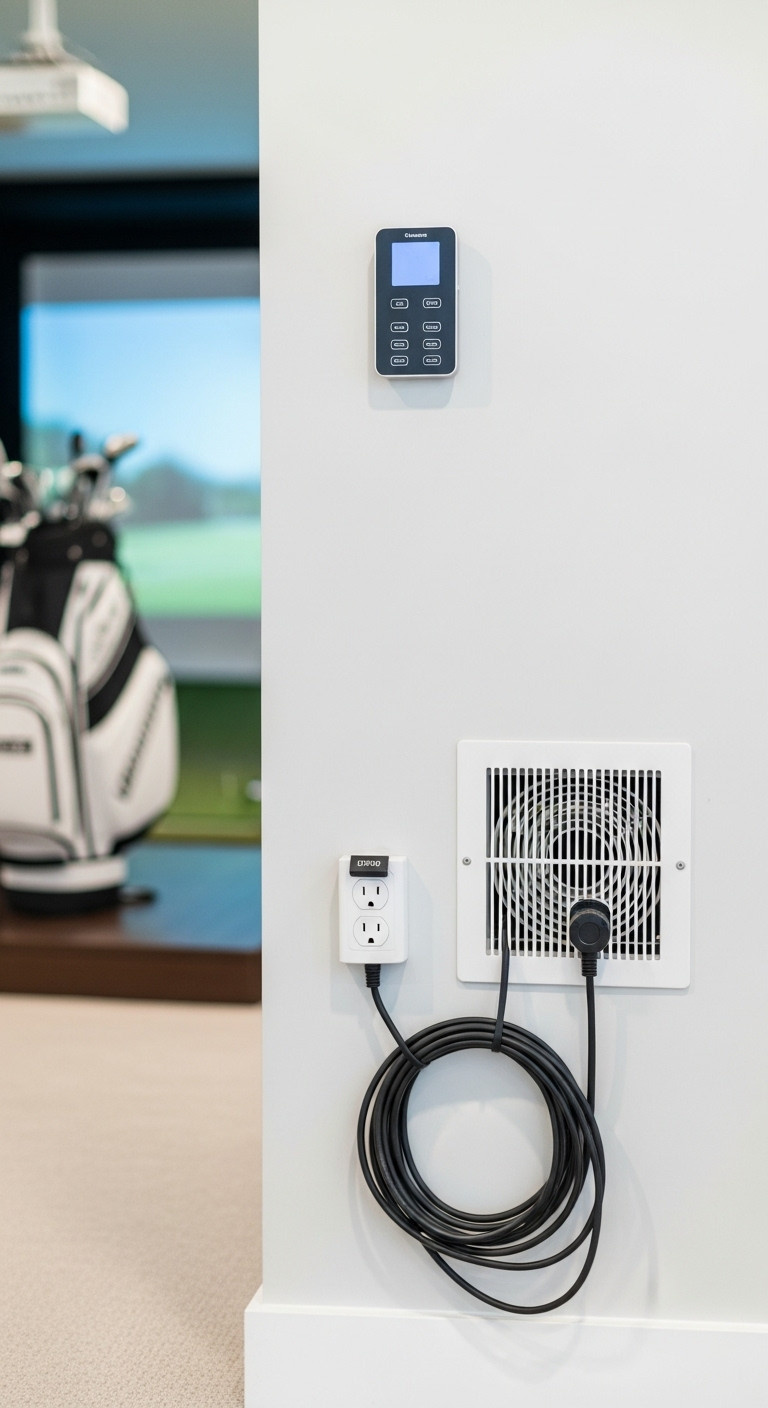
Ensure a smooth experience: Pin these electrical and HVAC tips!
H4: Electrical Components & HVAC Units:
- Dedicated 15 or 20 Amp Circuit Breaker
- Multiple GFCI-protected Electrical Outlets (for safety)
- High-Quality Surge Protector (for all sensitive equipment)
- Mini-Split AC/Heating Unit or Ductless Heat Pump (for climate control)
- Ceiling Fan or Exhaust Fan (for ventilation)
- Conduit or Cable Management Systems
H4: Planning & Installation Considerations:
- Assess Power Needs: List all equipment that requires power (projector, PC, launch monitor, speakers, bar fridge, TV) and their individual wattage.
- Dedicated Circuit for Sim: Consider installing a dedicated 15 or 20 amp circuit for the golf simulator equipment to prevent power fluctuations and protect sensitive electronics. Always consult a certified electrician for this step.
- Strategic Outlet Placement: Plan for outlets near the projector (ceiling), PC/console, launch monitor, and any lounge amenities. Ensure they are easily accessible but out of the swing path.
- Surge Protection: Invest in high-quality surge protectors for all valuable equipment. Power strips with built-in surge protection are a must.
- Climate Control (HVAC): Install a mini-split AC/heating unit if the room isn’t tied into your home’s main HVAC. This ensures comfortable year-round use, crucial for equipment longevity.
- Ventilation: A ceiling fan or exhaust fan can help circulate air and remove any heat generated by equipment or physical activity, preventing stuffiness.
- Cable Management: Plan for running all cables neatly and safely, ideally within walls using conduit or along baseboards with cable raceways, to prevent tripping hazards and maintain a clean aesthetic.
Pro-Tip: Always err on the side of caution with electrical work. A small investment in a professional electrician can prevent major safety hazards or equipment damage.
7. The Build Begins: Step-by-Step Installation & Safety
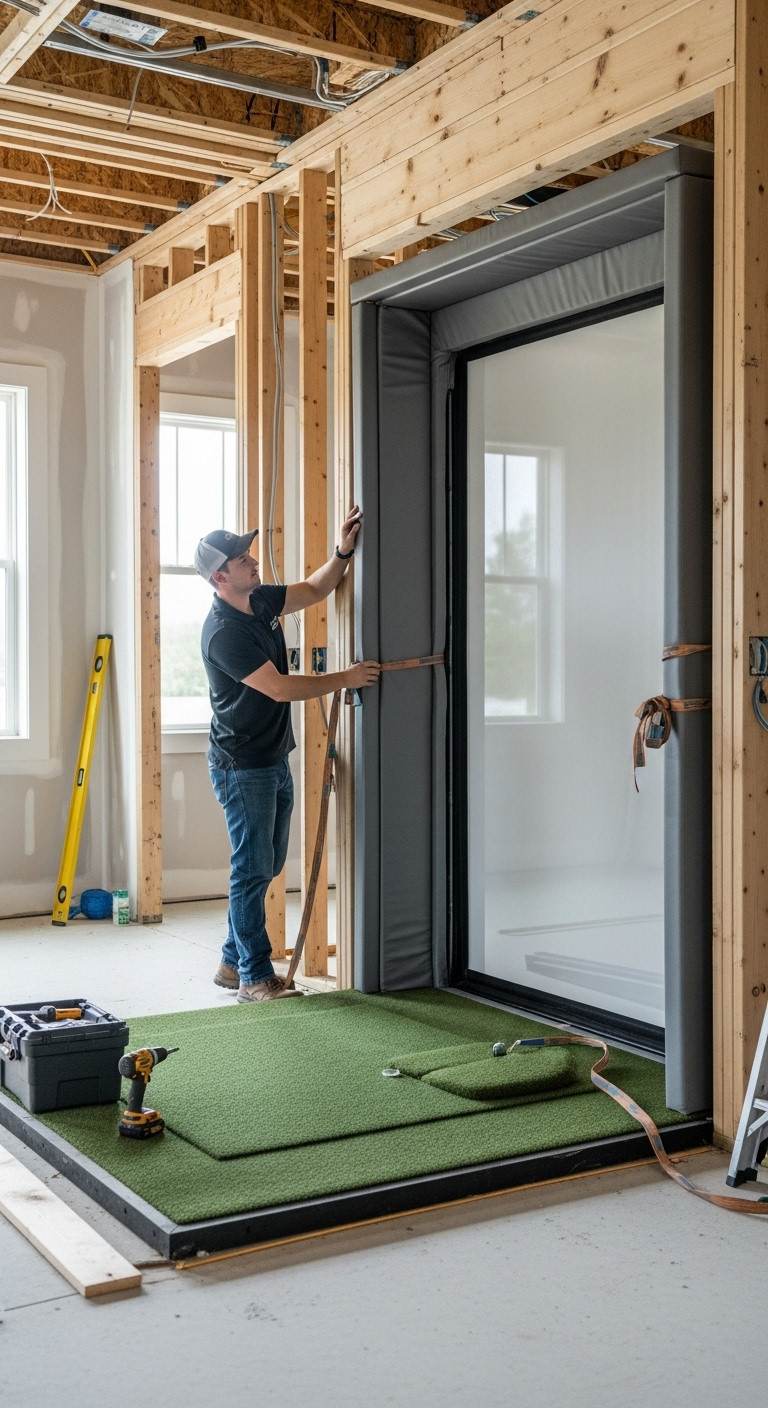
Build like a pro! Pin these essential golf sim installation steps!
H4: Essential Tools & Safety Gear:
- Power Drill with various bits
- Stud Finder
- Level
- Measuring Tape
- Ladder
- Utility Knife
- Heavy-Duty Gloves & Safety Glasses
- Impact Screen Tensioning System (bungees, straps)
- High-Density Foam Padding or Carpet Tiles
H4: Installation Workflow & Safety Checks:
- Frame the Enclosure (if applicable): Assemble your enclosure frame (metal pipes, wood) according to manufacturer instructions. Ensure it’s sturdy and level.
- Install Safety Padding: Prioritize safety by installing high-density foam padding or heavy-duty carpet tiles on walls and ceiling surfaces around and above the hitting zone, extending beyond the screen. This minimizes ricochets.
- Mount the Impact Screen: Securely attach the impact screen to the enclosure frame using bungees or tensioning straps. Ensure it’s taut, wrinkle-free, and centered.
- Install Projector: Mount the projector to the ceiling at the calculated throw distance. Connect it to your PC/console with appropriate cables, managing them neatly.
- Place Hitting Mat: Position your hitting mat precisely where your launch monitor requires (e.g., 8-10 ft from the screen for most setups). Ensure it’s level and stable.
- Set Up Launch Monitor: Place your launch monitor in its designated spot, ensuring it’s level and aligned with the target line as per manufacturer guidelines. Connect it to your PC.
- Software Installation & Calibration: Install your golf simulation software, update drivers, and follow the specific calibration steps for your launch monitor and projector. Test thoroughly.
- Final Safety Check: Before swinging, double-check all clearances, padding, and equipment stability. Clear the area of any potential hazards.
Pro-Tip: For optimal safety and a clean look, try to run all power and data cables through walls or dedicated cable raceways. Label them clearly for future troubleshooting.
8. Smart Spending: Budgeting & Maximizing Your Investment
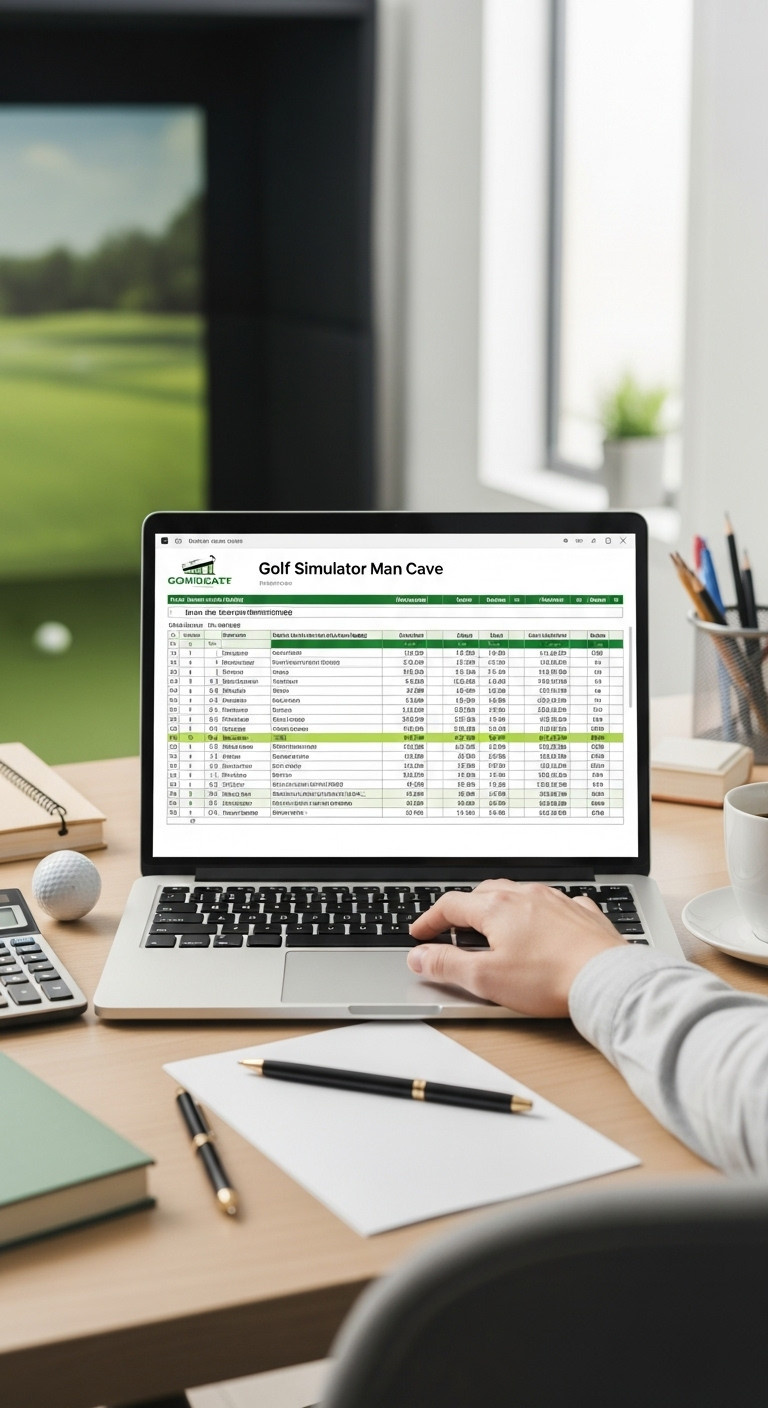
Unlock smart spending for your dream golf sim! Pin this budget guide!
H4: Budget Components & Financial Tools:
- Spreadsheet Software (e.g., Excel, Google Sheets) for tracking
- Categories: Launch Monitor, Projector, Screen, Hitting Mat, Enclosure/Netting, PC/Laptop, Software Subscriptions, Room Renovation (insulation, flooring, paint), Electrical/HVAC, Man Cave Amenities (seating, bar, decor), Installation Labor (if professional).
- Online Retailer Pricing Data (for equipment estimates)
H4: Cost-Saving Strategies & ROI Assessment:
- Define Your Tiers: Establish a “Basic DIY” ($5,000-$15,000), “Mid-Range” ($15,000-$40,000), and “Luxury Pro-Install” ($40,000-$100,000+) budget.
- Prioritize Core Components: Allocate the largest portion of your budget to the launch monitor, projector, and impact screen, as these directly impact simulation quality.
- DIY Where Possible: Save significantly on labor costs by undertaking simpler tasks yourself (e.g., painting, basic enclosure assembly, cable management), but always consult pros for critical electrical/structural work.
- Factor in Hidden Costs: Account for sales tax, shipping, unexpected tools, software subscriptions, replacement parts (e.g., screen wear), and potential professional consultation fees (electrician, HVAC).
- Consider Financing Options: Explore payment plans offered by simulator retailers or home improvement loans for larger projects.
- Assess ROI: Beyond monetary value (potential home value increase), calculate the “entertainment ROI” – the countless hours of year-round enjoyment, skill improvement, and social gatherings it provides compared to recurring costs of outside entertainment.
- Shop for Deals: Look for bundled packages, seasonal sales, or refurbished equipment from reputable sellers to optimize spending.
Pro-Tip: The hitting mat is often an overlooked but crucial component. A cheap mat can lead to injury and unrealistic feedback. Don’t skimp here; it directly impacts your long-term enjoyment and health.
9. Keep It Pristine: Maintenance, Calibration & Troubleshooting
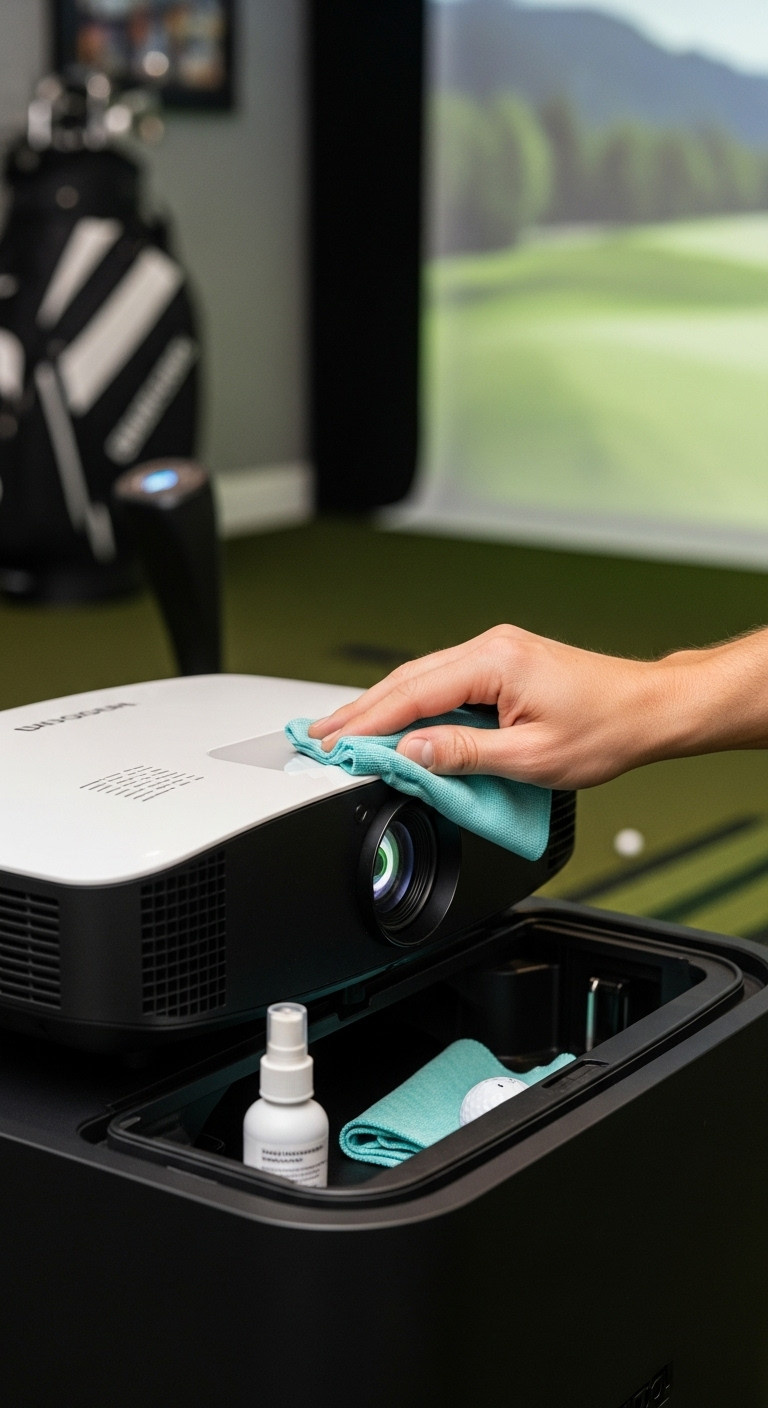
Keep your golf sim running perfectly: Pin these maintenance tips!
H4: Maintenance Supplies & Calibration Tools:
- Microfiber Cleaning Cloths
- Lens Cleaning Solution (for projector)
- Vacuum Cleaner with Brush Attachment
- Mild Soap and Water (for screen cleaning)
- Manufacturer’s Calibration Tools (e.g., alignment sticks, software)
- Air Compressor or Canned Air (for dust removal)
H4: Routine Care & Common Fixes:
- Clean Projector Regularly: Gently wipe the projector lens with a microfiber cloth and lens cleaner. Use canned air to clear dust from vents to prevent overheating.
- Inspect Impact Screen: Periodically check the impact screen for signs of wear and tear, especially in the hitting zone. Clean with mild soap and water for tough marks. Rotate or replace the screen as needed.
- Care for Hitting Mat: Vacuum your hitting mat regularly. For tougher stains, use a stiff brush and mild detergent. Ensure it remains flat and stable.
- Calibrate Launch Monitor: Follow manufacturer instructions to recalibrate your launch monitor periodically (e.g., monthly or after moving it) to ensure accurate readings.
- Software Updates: Keep your golf simulation software and launch monitor firmware updated to access new features, courses, and performance improvements.
- Troubleshoot Common Issues:
- No Image on Screen: Check projector power, cable connections (HDMI), and input source on the projector.
- Inaccurate Readings: Re-calibrate the launch monitor, check lighting conditions (too bright/dark can interfere), ensure ball is clean, check hitting mat placement.
- Lagging Software: Ensure your PC meets minimum specs, update graphics drivers, close unnecessary background programs.
- Environmental Checks: Ensure your HVAC system is functioning correctly to maintain optimal temperature and humidity, which protects electronics.
Pro-Tip: Always keep a spare set of projector bulbs if your projector uses them, or at least be aware of the replacement process. Regular maintenance prevents small issues from becoming expensive problems.
Key Takeaways: Your Quick Guide to a Dream Golf Simulator Man Cave
- Prioritize Space: Ensure 10-12ft ceiling height, 15ft width, 18-20ft depth for optimal safety and swing.
- Invest in Core Tech: Choose a launch monitor (radar/photometric), projector (short-throw, high lumens), and durable impact screen for immersion.
- Balance Aesthetics & Acoustics: Design a comfortable lounge area and integrate sound-absorbing panels for a premium experience.
- Plan Infrastructure: Don’t overlook dedicated electrical circuits and proper HVAC for equipment longevity and comfort.
- Maintain for Longevity: Regular cleaning, calibration, and software updates ensure peak performance and protect your investment.
People Also Ask About Golf Simulator Man Caves
What is the ideal room size for a golf simulator man cave?
The ideal room size for a full-swing golf simulator man cave typically requires a minimum ceiling height of 10-12 feet, a width of at least 15 feet, and a depth of 18-20 feet. These dimensions ensure adequate swing clearance for all clubs, allow for proper projector throw distance, and accommodate both left and right-handed golfers comfortably, along with essential man cave amenities.
How much does a golf simulator man cave cost?
The cost of a golf simulator man cave varies widely, ranging from $5,000 for a basic DIY setup to over $70,000 for a professional, custom-designed luxury build. Key cost drivers include the quality of the launch monitor, projector, and impact screen, as well as the extent of room renovations and integrated man cave features like a bar or media system.
Can I build a golf simulator in my garage or basement?
Yes, garages and basements are two of the most popular locations for golf simulator man caves due to their typically ample dimensions and separation from main living areas. Considerations for a garage conversion include insulation, climate control, and a level hitting surface. Basements require careful planning for potential low ceilings, moisture control, and integration with existing home infrastructure.
What are the essential components for a home golf simulator setup?
The essential components for a home golf simulator setup include a high-accuracy launch monitor, a durable impact screen, a high-definition projector with appropriate throw ratio, a realistic hitting mat, a powerful computer with simulation software, and a safety enclosure or netting. These elements work together to provide an immersive and data-rich golf experience.
Final Thoughts
The journey to creating your perfect golf simulator man cave is an investment in personal passion, entertainment, and a year-round escape. By meticulously planning your space, selecting the right technology, and thoughtfully designing the ambiance, you can transform a simple room into an unparalleled sanctuary that combines the thrill of the game with the comfort of your own home. Remember that patience, precision, and prioritizing safety are key to building a space you’ll cherish for 2025 and beyond. What’s the one feature you absolutely can’t live without in your dream golf simulator man cave? Share your vision in the comments below
Last update on 2025-12-07 / Affiliate links / Images from Amazon Product Advertising API

