As an Amazon Associate GolferHive.com earns from qualifying purchases.
The 7 Secrets to Perfect Golf Embroidery on Bags and Polos
Tired of puckered logos ruining your expensive golf polos? Does the thought of stitching on a bulky golf bag feel impossible? You’re not alone in this frustration.
Golf embroidery is the specialized art of stitching custom designs onto performance apparel and accessories. The core challenge is that stretchy polyester shirts and thick nylon bags behave very differently from simple cotton, leading to common failures.
The solution lies in mastering material-specific preparation. This guide reveals the 7 professional secrets, from stabilizer science to digitizing adjustments, that guarantee crisp, durable, commercial-grade results on all your golf gear.
Are You Ready to Stop the Puckering? The Secrets to Pro-Grade Golf Embroidery
Embroidering on golf gear is uniquely challenging. You’re dealing with stretchy, moisture-wicking polyester pique on polo shirts and bulky, durable nylon on golf bags. These materials are designed for performance, not for standard embroidery, which is why puckering, misalignment, and poor stitch quality are so common for hobbyists. The biggest challenge is mastering stabilization for these technical fabrics.
The secrets we’re about to share aren’t just tips; they are foundational techniques derived from commercial embroidery standards. They address the core material science problems that cause your projects to fail. By understanding how to properly select a stabilizer, hoop your items, and adjust your machine, you can achieve the crisp, durable, and professional golf bag stitching that defines high-quality custom golf logos. This is how you move from frustration to flawless execution.
The 7 Secrets to Perfect Golf Embroidery on Bags and Polos
Achieving a professional finish on golf apparel isn’t about having the most expensive machine; it’s about knowing the 7 technical secrets that commercial shops use every day. These steps will elevate your work from a hobbyist level to a commercial-grade standard, focusing on the specialized challenges of polyester pique and nylon bags. Based on material science and machine testing, these secrets ensure high-volume, durable output. From selecting the right cutaway stabilizer to mastering specialized hooping for bulky items and optimizing your digitizing for pull compensation, each step builds upon the last to create a perfect result.
1. The Cutaway Rule: Stabilizer Science for Pique Polo Shirts

Pin this genius tips to your ‘Dream Embroidery’ board!
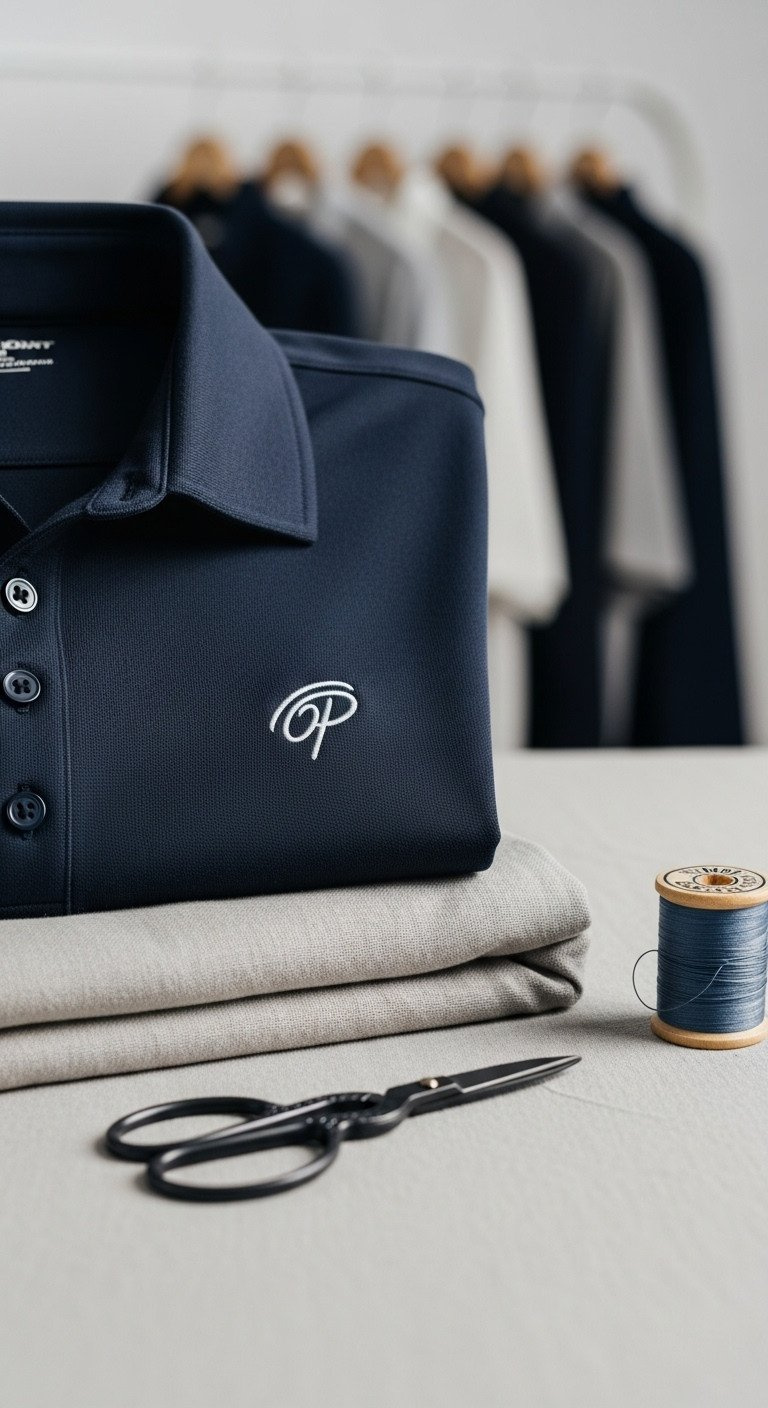
The number one rule for stopping embroidery puckering on knit fabrics like polo shirts is to use a cutaway stabilizer. Unlike tear-away backing that is removed, cutaway stabilizer provides permanent support. It remains with the garment for its entire life, preventing the stretchy pique fabric from distorting around the logo during and after stitching, even through countless washes. This is the non-negotiable first step for a professional finish.
Materials Needed:
- Medium-weight fusible cutaway stabilizer (1.8 – 2.5 oz)
- Temporary spray adhesive or hoop tape
- Small piece of water-soluble topping (Solvy)
- Size 75/11 Ballpoint Needle (essential for knits)
Step-by-Step Directions:
- Cut a piece of cutaway stabilizer slightly larger than your hoop size.
- Apply temporary adhesive spray lightly to the stabilizer, or use a fusible version and press lightly onto the polo shirt’s wrong side where the logo will be placed.
- CRITICAL: Gently secure the stabilized fabric in the hoop, ensuring the hoop is taut but avoiding stretching the polo fabric itself.
- Place a small sheet of water-soluble topping over the fabric to prevent the stitches from sinking into the pique texture.
- Secure the hoop onto the machine, ensuring the fabric is free-floating under the arm before starting the sew-out.
Pro-Tip: If using non-fusible cutaway, hoop tape or sticky stabilizers are highly effective at preventing the fabric from slipping during high-speed stitching on slick polyester.
2. Mastering the Isolation Technique for Bulky Golf Bags

Save this clever organization idea!
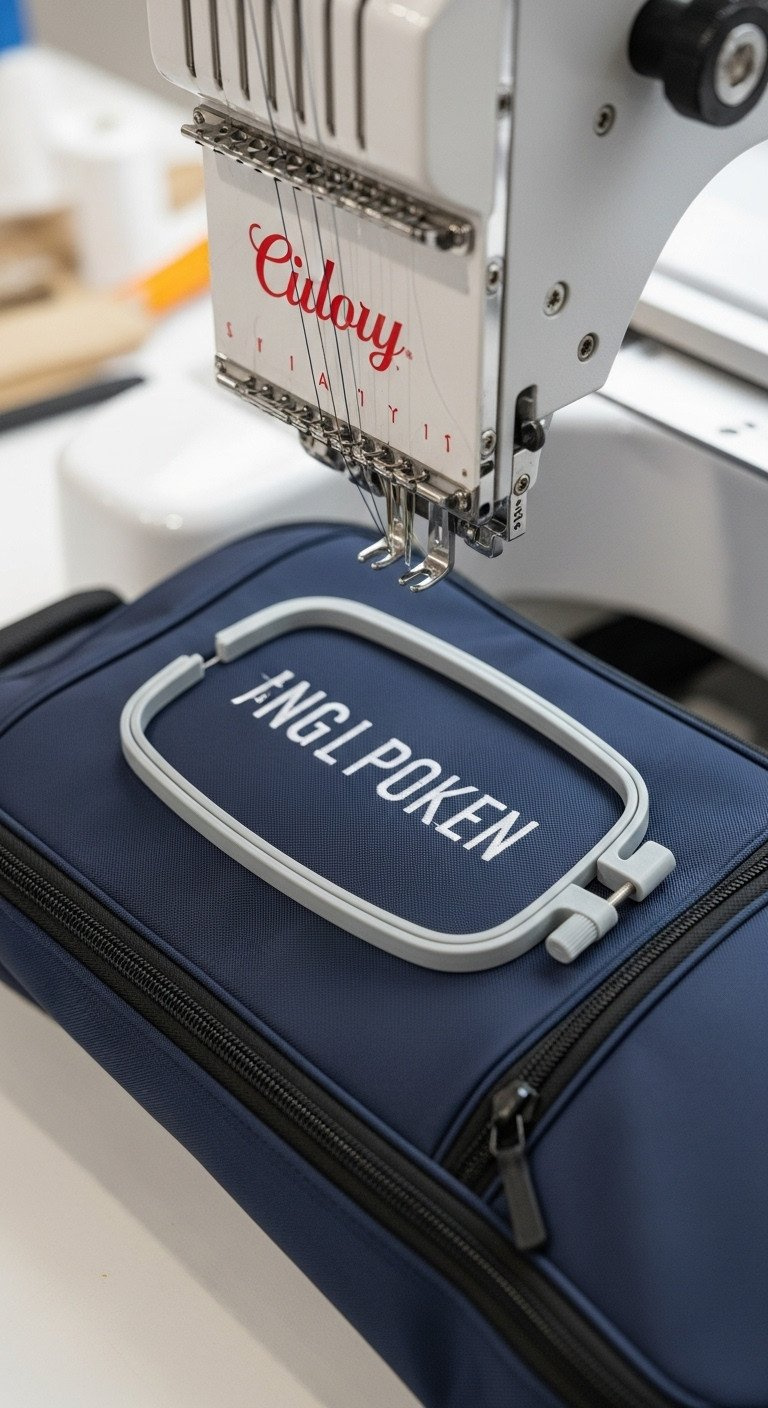
The safest way to embroider a golf bag is to never hoop the bag itself. Instead, you isolate a single layer of fabric, typically the ball pocket, and “float” it over a hooped piece of heavy-duty stabilizer. This isolation technique, often requiring specialized clamp hoops, prevents damage to the bag’s structure and your machine while ensuring a perfectly flat stitching surface.
Tools Needed:
- Heavy-duty cutaway stabilizer (3.0 oz or higher)
- Specialized Magnetic or Clamp Hoop compatible with your machine
- Heavy-duty Size 90/14 or 100/16 Sharp Needle (for piercing nylon)
- Seam ripper (optional, for accessing difficult pockets)
Step-by-Step Directions:
- Locate the zippered access point inside the ball pocket of the golf bag and unzip it completely to expose the inner wall.
- Turn the bag inside out through the access point if possible, or carefully pull the pocket lining free to isolate the single layer of fabric you wish to embroider.
- Hoop the Stabilizer: Securely hoop the heavy-duty cutaway stabilizer tautly in your frame (magnetic or clamp hoop).
- Float the Bag: Position only the single layer of pocket fabric you isolated over the stabilizer inside the hooped area, securing it temporarily with tape or adhesive spray. Do NOT hoop the bag fabric itself; only the stabilizer.
- Carefully position the entire golf bag assembly under the machine arm, ensuring the bulk of the bag is clear of the embroidery field and the presser foot.
Pro-Tip: If the pocket lining is too small to pull out, a clamp hoop is mandatory. If you must use a standard hoop, only hoop the stabilizer, then carefully secure the pocket fabric onto the stabilizer using high-tack temporary adhesive spray.
3. Optimizing Tension and Speed for Performance Fabrics

This is the secret commercial shops use—save the settings!
Performance fabrics require a lighter touch. High machine speed and tight tension, which work on stable cotton, will cause thread breakage and puckering on thin, stretchy polyester. By reducing your machine’s top tension and lowering the stitch speed, you minimize friction and prevent the stitches from pulling the delicate fabric out of shape.
Materials Needed:
- High-quality 40wt polyester thread
- Scrap piece of the target golf fabric and stabilizer
- Bobbin thread designed for specific machine type
Step-by-Step Directions:
- Reduce Top Tension: For stretchy, slick polyester, reduce the top thread tension setting on your machine (often down to 2.0-3.0 range, depending on machine brand).
- Test Tension Balance: Sew a small block design onto a scrap of the stabilized fabric. The bottom thread should show about 1/3 of the bobbin thread on the top and 1/3 of the top thread on the bottom for a perfect balance.
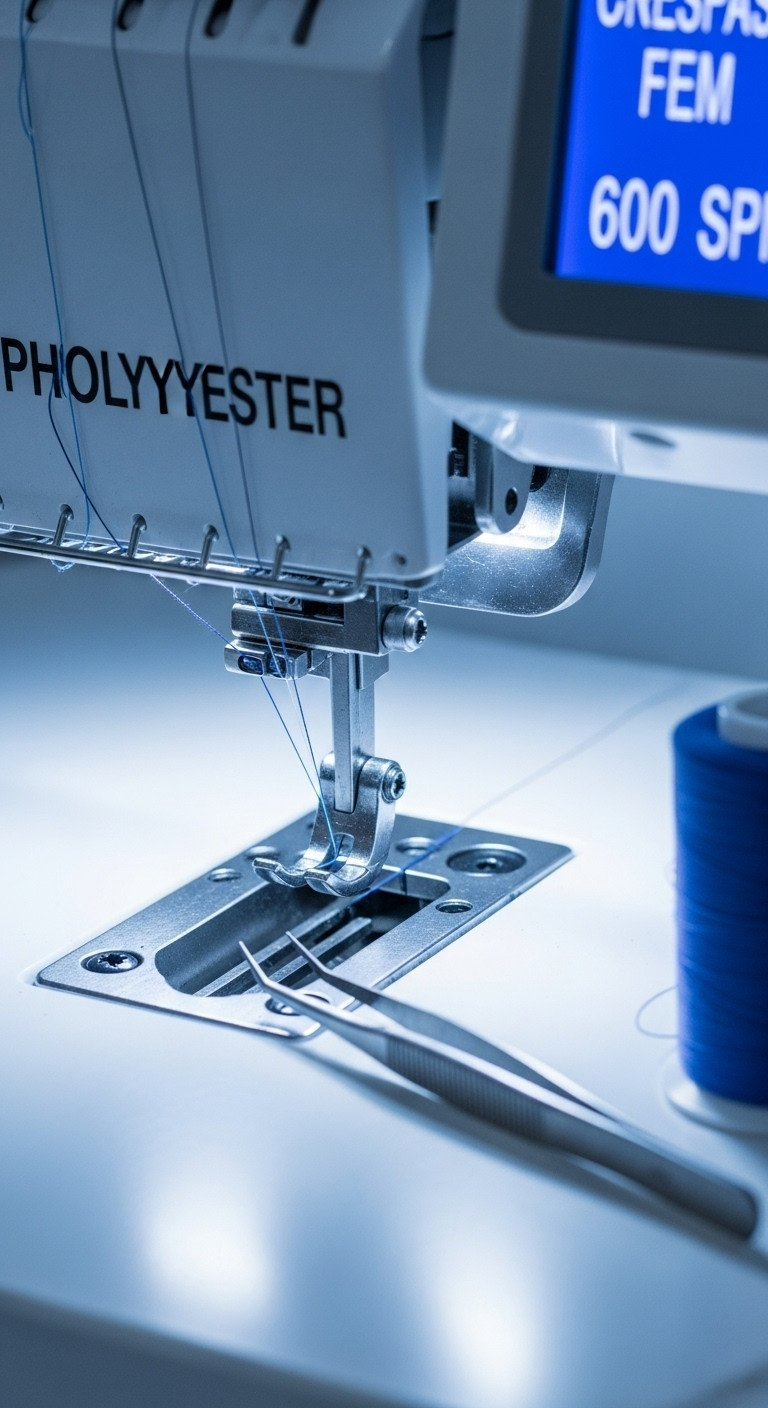
- Decrease Speed: For knit fabrics, thick nylon bags, and complex designs, reduce the machine’s stitching speed to 600-800 Stitches Per Minute (SPM) to minimize pull, movement, and thread friction.
- Use Bobbin Monitoring: If possible, use a tension bobbin designed for lighter tension if struggling with balance on very stretchy material.
Pro-Tip: High-speed stitching generates heat, which can cause synthetic polyester thread to fuse or break. Slowing the machine down is the easiest way to improve stitch quality and prevent thread breaks.
4. The Knockdown Stitch: Making Logos Pop on Pique Texture

This knockdown stitch secret is genius! Save for later!
To prevent your logo from sinking into the textured weave of a pique polo, you need a knockdown stitch. This is a light-density fill stitch, applied as a base layer before the main design, that flattens the fabric’s texture. The primary logo then stitches on top of this smooth “platform,” ensuring the satin stitches remain crisp, lifted, and perfectly defined for a high-end finish.
Process Required:
- Digitized file that includes a knockdown stitch underlay
- Water-soluble topping stabilizer (optional but recommended)
- Matching thread colors
Step-by-Step Directions:
- Digitizing Check: Ensure your digitized logo file includes a light-density, flat satin or fill stitch layer (the knockdown stitch) that is designed to cover the entire area where the final logo will sit.
- First Sew-Out: Your machine will stitch the knockdown layer first, which flattens the textured fibers of the pique fabric.
- Optional Topping: If the pique is very pronounced, apply a layer of water-soluble topping after the knockdown stitch but before the main design starts.
- Main Design: The machine will now stitch the primary logo design on top of the smooth, flattened surface, ensuring the satin stitches remain crisp and lifted.
Pro-Tip: The knockdown stitch thread should be color-matched to the polo shirt fabric, not the logo. It is only meant to be a subtle, functional base layer, not part of the visible design.
5. The Digitizing Science of Pull Compensation

Need perfect custom logos? This digitizing secret is the key!
A perfect logo starts with perfect digitizing. When thread is stitched into stretchy fabric, it pulls the material inward, which can distort the final design. Professional digitizing services apply ‘pull compensation,’ a technique that slightly inflates or overlaps parts of the design in the software. This adjustment counteracts the fabric’s natural shrinking tendency, ensuring the logo maintains its intended shape and size once stitched out.
Resources Needed:
- High-quality, custom digitizing service OR advanced digitizing software (Wilcom, Embrilliance)
- Vector logo file (.AI or .EPS)
- Fabric specifications (polyester knit)
Step-by-Step Directions:
- Communicate Material: Inform your digitizer that the logo will be used on stretchy knit fabrics (like golf polos) so they can apply necessary compensations.
- Apply Pull Compensation: In the digitizing software, adjust the stitch properties to apply ‘pull compensation’ (typically 0.3mm to 0.5mm depending on fabric stretch). This slightly inflates the design areas perpendicular to the stitch direction.
- Underlay Density: Request or apply a dense underlay stitch (like a zigzag or edge walk) to anchor the material before the top stitches are applied, further stabilizing the area.
- Test and Verify: Always request a test sew-out or a digital preview on a matching fabric type to ensure the design remains accurately sized and registered post-stitching.
Pro-Tip: Digitizing for knitwear should be less dense (around 4.0 stitches per millimeter) than for woven cotton to keep the final logo soft and breathable. Excessive density increases stiffness and puckering risk.
6. Industry-Standard Logo Placement and Sizing Guide

Pro Tip: Use these measurements for commercial-grade shirt placement!
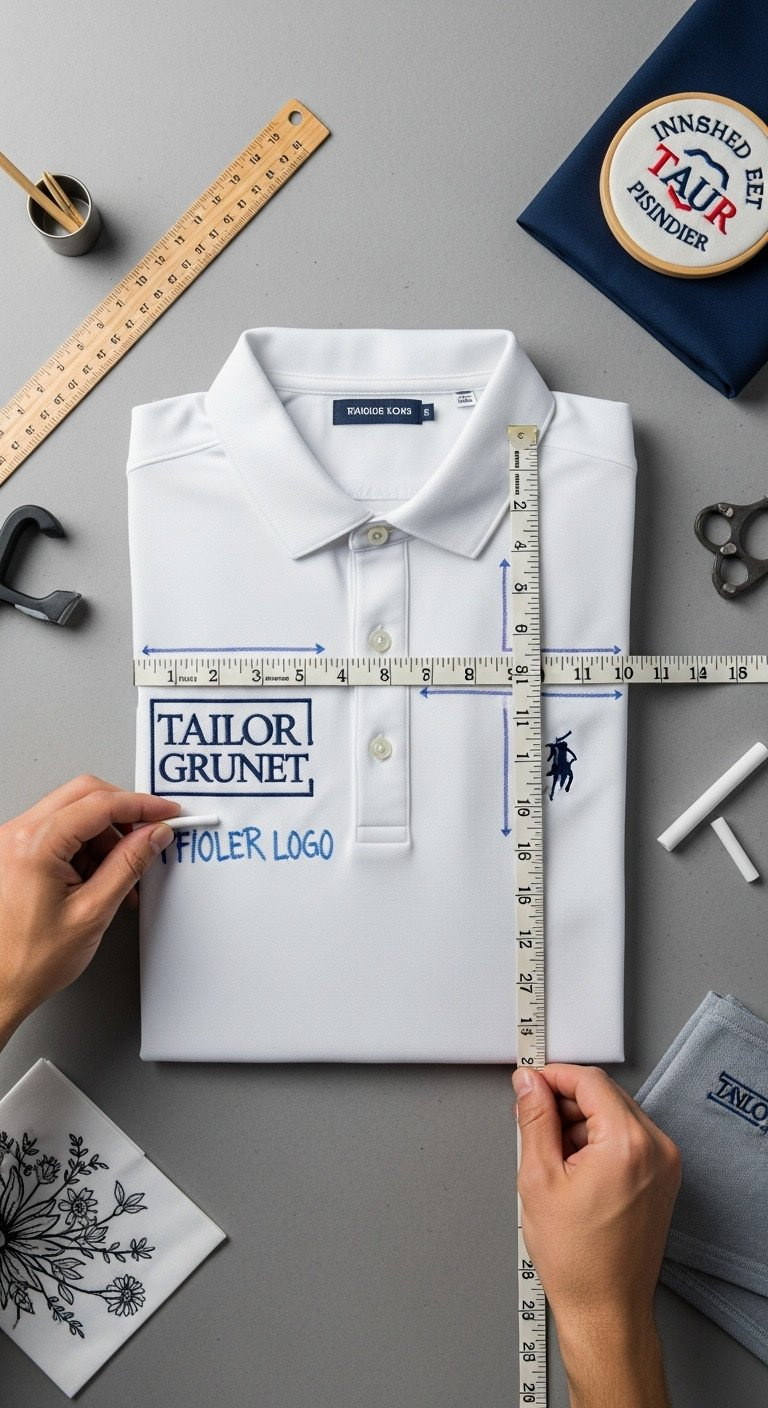
Where you place a logo is as important as how you stitch it. Following industry standards for placement and sizing ensures a professional, balanced look. For golf polos, the left chest is the default location, and its position is precisely measured to avoid being too high, too low, or too far to the side. Getting this right is a key signifier of quality.
Tools & Standards:
- Placement guide tool or rigid ruler
- Washable marking pen or tailor’s chalk
- Apparel sizing chart
Step-by-Step Directions:
- Determine Logo Size: For a standard men’s large polo, keep the logo width between 3.5 and 4.0 inches wide. (Reduce size proportionally for smaller shirts.)
- Mark Vertical Position: Measure 4 to 6 inches down from the center top shoulder seam (depending on shirt size) to locate the top edge of your logo.
- Mark Horizontal Position: Measure 3 to 4 inches over from the center placket (the edge of the button area) toward the side seam. This is the center point for the design’s width.
- Verify Alignment: Use a rigid template or ruler to ensure the logo placement is parallel to the front edge of the placket and perpendicular to the bottom hem of the shirt before hooping.
Pro-Tip: When embroidering monograms on a golf bag pocket, the standard size is usually larger than apparel logos, often between 5 to 7 inches wide, depending on the available pocket size.
7. Choosing High-Performance Thread for Durability and UV Resistance

This is the difference between lasting gear and faded logos—save the thread guide!
The thread you choose determines the lifespan of your embroidery. For golf gear exposed to sun, sweat, and frequent washing, 100% polyester thread is the only professional choice. While rayon thread offers a high sheen, it has poor UV resistance and will fade and weaken quickly. High-quality polyester ensures your design remains vibrant and durable season after season.
Selection Criteria:
- Thread Material: 100% Trilobal Polyester (Required)
- Thread Weight: 40wt (Standard for most applications; 60wt for small text)
- Colorfastness: Verified UV and Chlorine resistance (check brand specifications)
Durability Steps:
- Exclude Rayon: Never use rayon thread for golf apparel or bags, as its low UV resistance means colors will rapidly fade and the thread will weaken after repeated sun exposure.
- Use Polyester Exclusively: Opt for high-quality, lubricated 40wt polyester thread for all golf applications to guarantee colorfastness against sunlight, sweat, and frequent washing.
- Check Quality: Ensure the chosen thread is designed for industrial use (even on home machines) as it is more durable and less prone to breaking during high-speed stitching on dense fabrics.
- Consider 60wt for Fine Text: If embroidering very small details, like a website URL on a sleeve or collar, temporarily switch to a finer 60wt thread to improve legibility, but maintain polyester composition.
Pro-Tip: High-end polyester threads often come pre-lubricated. If you notice persistent thread breakage, apply a small drop of silicone lubricant to your thread path, as friction is often the culprit when stitching on slick nylon or polyester.
Key Takeaways: Your Quick Guide to Durable Golf Customization
To guarantee success, you must match your technique and materials to the specific fabric you are working with. This table provides a quick reference for the most common golf embroidery projects.
| Fabric Type | Recommended Stabilizer | Key Placement Tip | Core Challenge Addressed |
|---|---|---|---|
| Polyester Pique Polo | Medium Cutaway (Fusible) | 4-6 inches down from shoulder | Puckering and Stitch Sinking |
| Nylon Golf Bag Pocket | Heavy Cutaway (3.0oz+) | Isolate pocket using Clamp Hoop | Bulky Material and Access |
| Terry Cloth Golf Towel | Heavy Tear-Away + Topping | Use appliqué for large designs | Fabric Nap and High Stitch Count |
| Golf Cap (Front Panel) | Heavy Cutaway/Topping | Requires specialized cap frame | Curved Surface Distortion |
People Also Ask About Professional Golf Embroidery
How much does it cost to professionally embroider a custom logo on a golf polo?
Professional embroidery typically costs between $10 to $20 per polo shirt, with an initial one-time fee of $35 to $75 for digitizing your logo file. The final cost depends on the size of the design, the number of stitch counts, and the total order volume (Minimum Order Quantities often apply).
Is embroidery more durable than heat transfer vinyl (HTV) for golf apparel?
Yes, quality embroidery is significantly more durable than HTV for golf apparel, especially concerning repeated washing and exposure to sunlight and perspiration. Embroidery provides a higher-end, lasting texture that won’t peel, crack, or fade as quickly as vinyl or screen-printed logos over time.
What is the risk of embroidering my golf bag at home?
The primary risk is damaging the bag by stitching through multiple layers of material or the inner lining, or misaligning the logo due to improper hooping. To mitigate this, you must carefully isolate the single layer of the pocket being embroidered, use heavy-duty needles, and utilize a specialty clamp or magnetic hoop designed for non-flat items.
How should I wash and care for embroidered golf shirts to ensure longevity?
Always wash embroidered golf shirts inside out in cold water on a gentle cycle, using mild detergent. Tumble dry on low heat or hang dry. Avoid using chlorine bleach or harsh stain removers directly on the embroidery, as even polyester thread can be compromised by strong chemicals over time.
Final Thoughts
Mastering the complexities of golf embroidery—from the bulky challenge of the bag to the stretchy nature of the polo shirt—all boils down to preparation and using the correct commercial-grade secrets. By adhering to the Cutaway Rule, isolating your fabric, and optimizing your digitizing settings, you can guarantee a crisp, durable, professional finish that lasts season after season. Now that you know the 7 critical steps, which piece of golf gear are you going to personalize first? Let us know in the comments
Last update on 2026-01-16 / Affiliate links / Images from Amazon Product Advertising API

