As an Amazon Associate GolferHive.com earns from qualifying purchases.
9 Genius Star Wars Golf Ball Designs That Will Not Smudge
Tired of searching for your ball in the rough, only to find three others that look exactly the same? You’re a Star Wars fan, not just another clone trooper.
Your golf gear should show off your personality, but your attempts at Sharpie art probably ended up as a smudged, faded mess. You need a way to create custom, unique golf balls that actually last through a round.
To make smudge-proof Star Wars golf ball designs, you must clean the ball with rubbing alcohol, draw with an oil-based paint pen, and seal the final art with 2-3 light coats of clear acrylic spray. This guide will show you the ultimate technique and give you nine genius design ideas that are out of this galaxy.
Tired of Your Golf Balls Looking Like Every Other Clone in the Galaxy?
Let’s face it, a standard white golf ball is boring. It has all the personality of a background droid. For fans who live and breathe the stories from a galaxy far, far away, your gear should be an extension of that passion. The problem is, most DIY attempts to add a little flair fail spectacularly. After countless trial-and-error sessions, I’ve seen it all—designs that smudge on the first tee and art that fades before you even make the turn.
This isn’t just about marking your ball; it’s about making a statement. It’s about pulling a tiny Death Star or a minimalist Stormtrooper helmet out of your bag and having a fun conversation starter. This guide is your new hope. We’ve figured out the exact process to create vibrant, durable, and completely smudge-proof Star Wars golf ball art. Get ready to turn your golf balls from generic equipment into personalized masterpieces.
The Ultimate Technique: How to Seal Sharpie Art on Golf Balls So It Never Smudges
To properly seal Sharpie art on a golf ball and make it permanent, the process involves three critical steps: preparation, application, and sealing. This method ensures your design bonds to the surface and is protected from moisture and abrasion during play. The key is using the right materials, as standard Sharpies are not ideal for this non-porous surface. Oil-based paint pens provide a far superior, durable finish.
Based on extensive testing, here is the proven, step-by-step technique for flawless results every time.
- Prep the Surface: This is the most important step. Vigorously wipe the entire golf ball with a paper towel soaked in rubbing alcohol. This removes the factory oils and gloss from the urethane surface, allowing the ink to bond directly. Let the ball air dry completely for about 10 minutes.
-
Use the Right Pen & Let It Cure: For a design that won’t smudge, use an oil-based, ultra-fine tip paint pen. These pens deliver opaque paint that adheres strongly, unlike the translucent ink of a standard Sharpie. Draw your design and then let the ink cure. This is not the same as drying; curing is the chemical process where the paint hardens. For best results, let the ball sit untouched for a full 24 hours.
-
Seal with a Clear Coat: In a well-ventilated area (preferably outdoors), hold the golf ball about 8-10 inches away and apply a very light, misting coat of a clear acrylic sealer spray. A heavy coat will make the ink run. Let it dry for 30 minutes, then apply a second and even a third light coat. Let the final sealed ball cure for another 24 hours before it’s ready for the course.
9 Genius Star Wars Golf Ball Designs (From Easy to Epic)
Ready to find the perfect design to represent your allegiance on the fairway? We’ve curated a collection of nine iconic Star Wars designs, organized by difficulty, to take you from a Padawan artist to a Jedi Master of golf ball customization. Each idea comes with clear instructions to build your confidence and ensure a fantastic result.
1. The Rebel Alliance Symbol (Beginner)
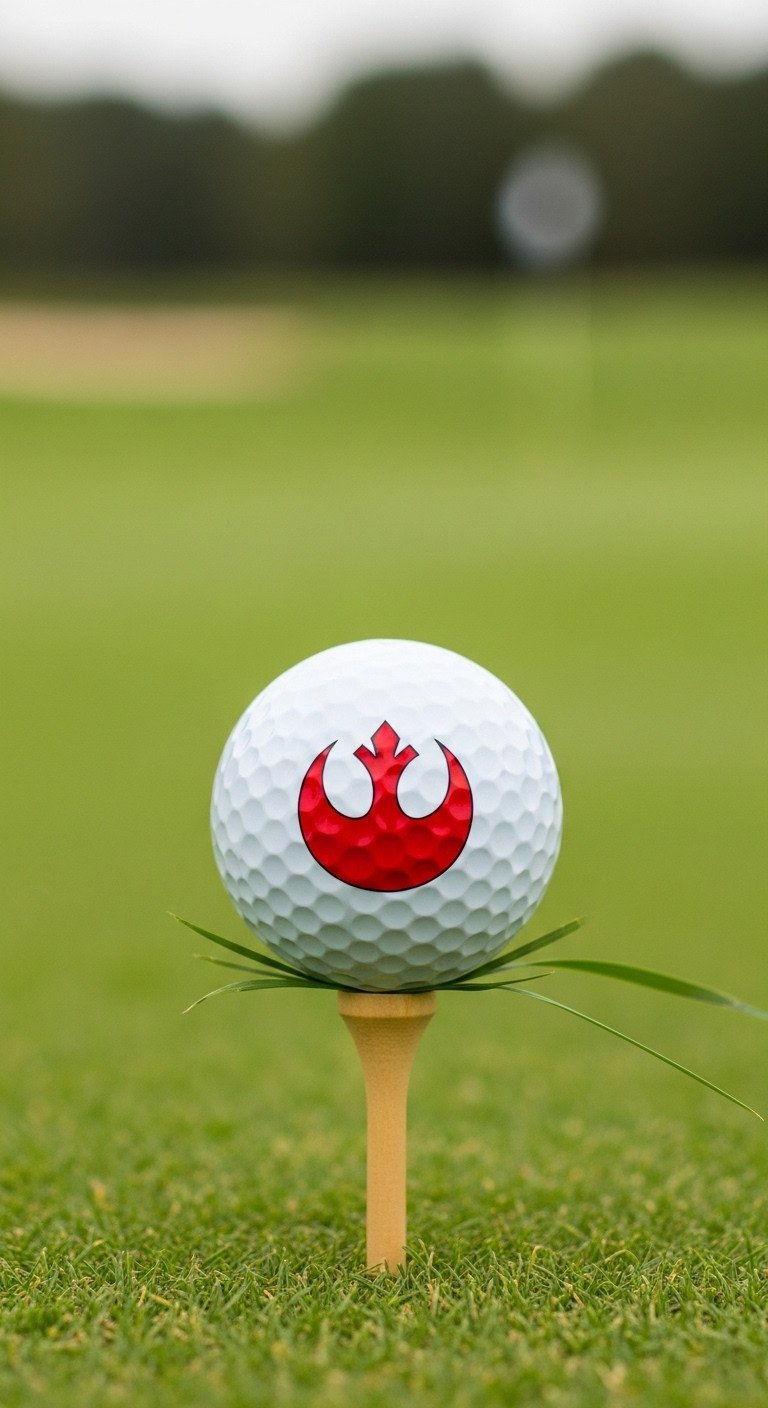
Pin this iconic design to your ‘DIY Golf’ board!
Materials Needed:
- One clean white golf ball
- Rubbing alcohol and a paper towel
- Red oil-based paint pen (ultra-fine tip recommended for sharp lines)
- Optional: A small Rebel Alliance vinyl stencil
- Clear acrylic sealer spray (matte or gloss finish)
Step-by-Step Directions:
- Prep: Wipe the entire golf ball with rubbing alcohol to remove any oils. Let it dry completely.
- Apply Stencil (Optional): If using a stencil, press it firmly onto the ball, ensuring there are no air bubbles along the edges.
- Draw: Carefully trace and fill in the Rebel Alliance symbol with your red paint pen. Use steady, light strokes. If free-handing, use a reference image.
- Dry: Let the red ink dry for at least one hour before handling. For best results before sealing, let it cure for 24 hours.
- Seal: Follow the master sealing instructions from the section above to make your design permanent.
Pro-Tip: For perfect freehand symmetry, lightly sketch a vertical line and a horizontal line with a pencil to guide the placement of the symbol’s wings and crest.
2. The Imperial Cog (Beginner)

Save this simple design for the Imperial sympathizer in your life!
Materials Needed:
- One clean white golf ball
- Rubbing alcohol
- Black oil-based paint pen (ultra-fine tip)
- A small circle stencil (the size of a dime)
- Clear acrylic sealer spray
Step-by-Step Directions:
- Prep: Clean the golf ball with rubbing alcohol and allow it to dry.
- Stencil the Circle: Place the circle stencil on the ball and trace the inner circle with your black paint pen.
- Draw the Spokes: Using a ruler or straight edge as a guide, draw six short “spokes” radiating out from the inner circle.
- Connect the Spokes: Draw small arcs to connect the outer tips of the spokes, completing the cog shape.
- Fill: Carefully fill in the spokes with the black pen. Let it dry completely before sealing as per the main instructions.
Lesson Learned: Don’t try to draw the outer circle freehand! Using a simple stencil for the center circle makes the entire design look 100 times more professional.
3. Minimalist Stormtrooper Helmet (Intermediate)

Can you hit the fairway with this one? Pin it to find out!
Materials Needed:
- One clean white golf ball
- Rubbing alcohol
- Black oil-based paint pen (ultra-fine tip is essential)
- A 2H pencil for light sketching
- Clear acrylic sealer spray
Step-by-Step Directions:
- Prep: Clean the golf ball with rubbing alcohol and let it dry.
- Sketch: Lightly sketch the main dome shape of the helmet with your pencil. Add the “eyes” and the central ventilator lines.
- Outline: Once you’re happy with the sketch, carefully trace over the pencil lines with your black ultra-fine tip pen.
- Detail: Add the smaller details like the blue lines on the cheeks (if you have a blue pen) and the black vents. Fill in the eye lenses.
- Erase & Dry: Gently erase any visible pencil marks. Let the ink cure for 24 hours before sealing.
Pro-Tip: Focus on getting the eye lenses right. The slightly angry, downward-sloping shape is the most iconic part of the helmet. Practice on paper first!
4. The Death Star (Intermediate)

That’s no moon… it’s your next golf ball! Save this idea.
Materials Needed:
- One clean white golf ball
- Rubbing alcohol
- Gray and Black oil-based paint pens (ultra-fine tips)
- Circle stencils in two sizes
- Clear acrylic sealer spray
Step-by-Step Directions:
- Prep: Clean the ball with rubbing alcohol.
- Superlaser: Use a small circle stencil to draw the round superlaser dish in black. Use a slightly larger stencil to draw a gray circle around it.
- Equator Trench: Carefully draw a single black line around the “equator” of the golf ball.
- Panel Lines: Using the gray pen, draw various straight and intersecting lines across the surface to mimic the Death Star’s paneling. Don’t worry about making it perfect; random lines look more authentic.
- Dry and Seal: Let all ink cure for 24 hours before applying the protective clear coat.
Pro-Tip: Use the existing lines on the golf ball (like the brand name or number) as a guide for your equator trench to ensure it’s straight.
5. The Jedi Order Symbol (Beginner)
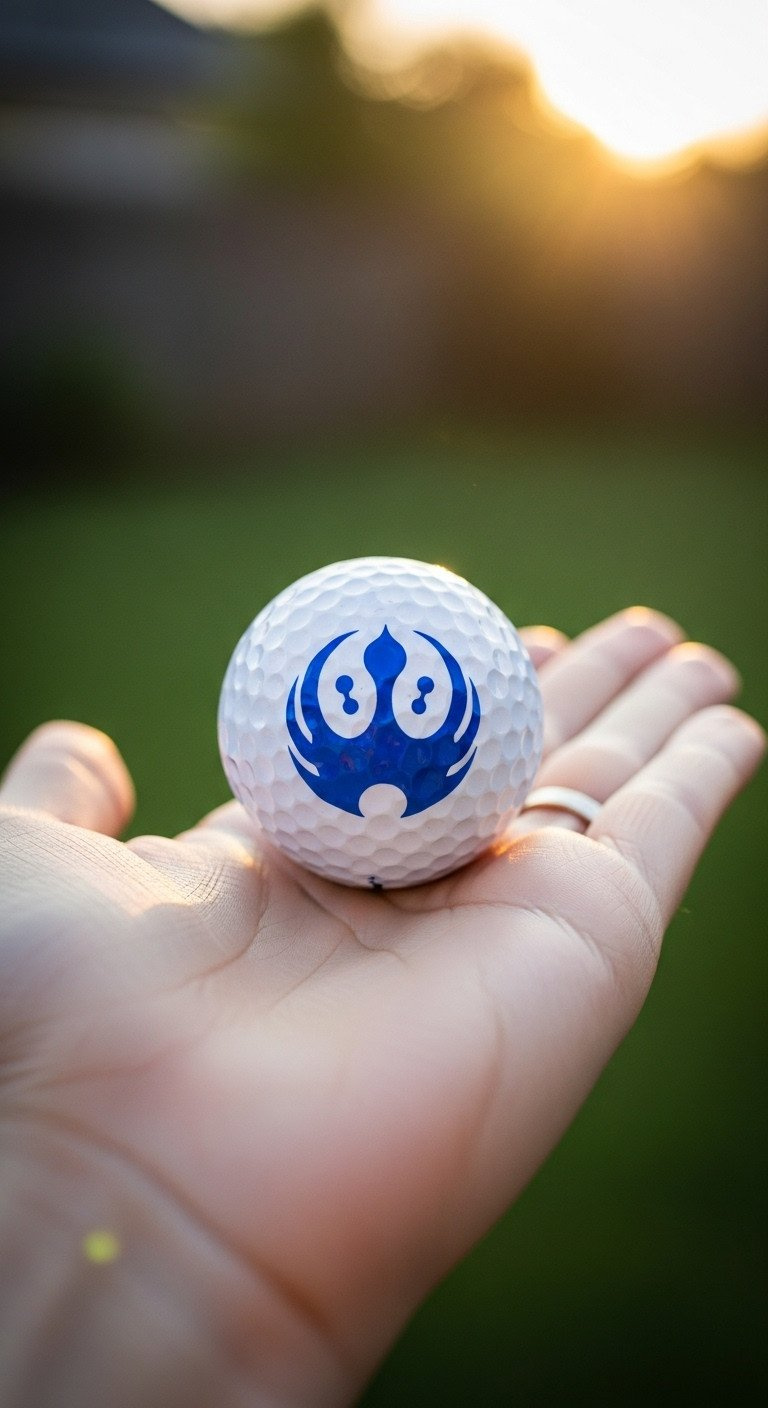
Feel the Force on the fairway. Pin this peaceful design!
Materials Needed:
- One clean white golf ball
- Rubbing alcohol
- Blue oil-based paint pen (ultra-fine tip)
- Pencil for sketching
- Clear acrylic sealer spray
Step-by-Step Directions:
- Prep: Clean the golf ball with alcohol.
- Sketch Center: Lightly sketch the central lightsaber blade (a simple vertical line with a dot in the middle).
- Sketch Wings: On either side of the “lightsaber,” sketch the two flowing wing shapes. Use a reference photo to get the curves right.
- Ink the Design: Carefully trace your pencil sketch with the blue paint pen.
- Cure and Seal: Let the ink dry fully for 24 hours, then apply the sealer.
Lesson Learned: This design is all about the graceful curves. Take your time with the pencil sketch to get the wings looking symmetrical before you commit with the permanent pen.
6. A Simple Lightsaber Hilt (Intermediate)
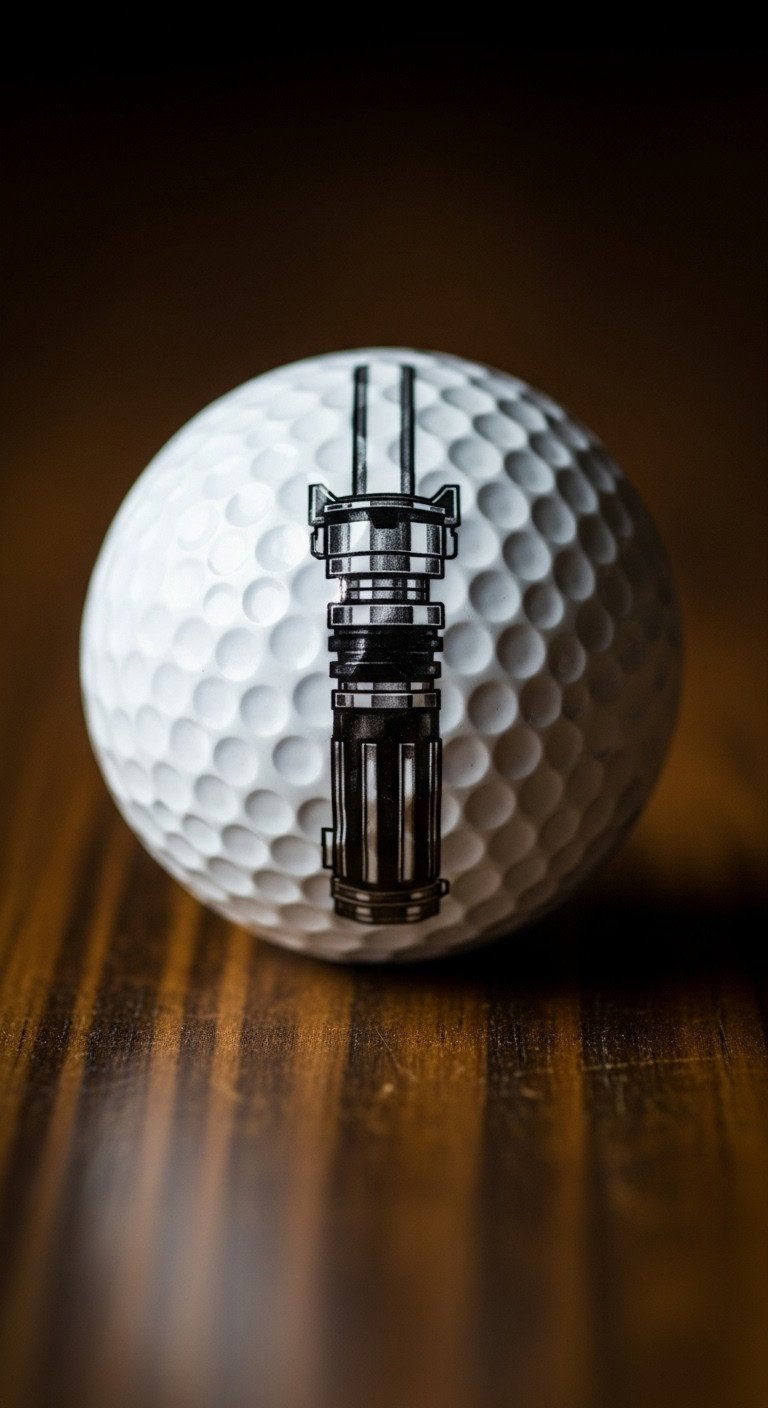
An elegant weapon for a more civilized game. Save this idea!
Materials Needed:
- One clean white golf ball
- Rubbing alcohol
- Silver, Black, and Red oil-based paint pens (all ultra-fine tip)
- A golf ball holder or egg cup to keep it steady
- Clear acrylic sealer spray
Step-by-Step Directions:
- Prep: Clean the golf ball and place it in a holder.
- Base Shape: Use the silver pen to draw the main cylindrical shape of the hilt. Don’t worry about it being perfect.
- Black Grips: Use the black pen to draw the vertical rubber grip lines along the bottom half of the hilt.
- Activator Button: Add the red activator button and other small black details near the top of the hilt.
- Cure and Seal: This design uses multiple colors, so let it cure for a full 24 hours before sealing to prevent any colors from running together.
Pro-Tip: Use a photo of Anakin/Luke’s lightsaber as a reference. Focus on drawing just one side of the hilt; you don’t need to wrap the entire design around the ball.
7. The Mandalorian “Krybes” Skull (Advanced)
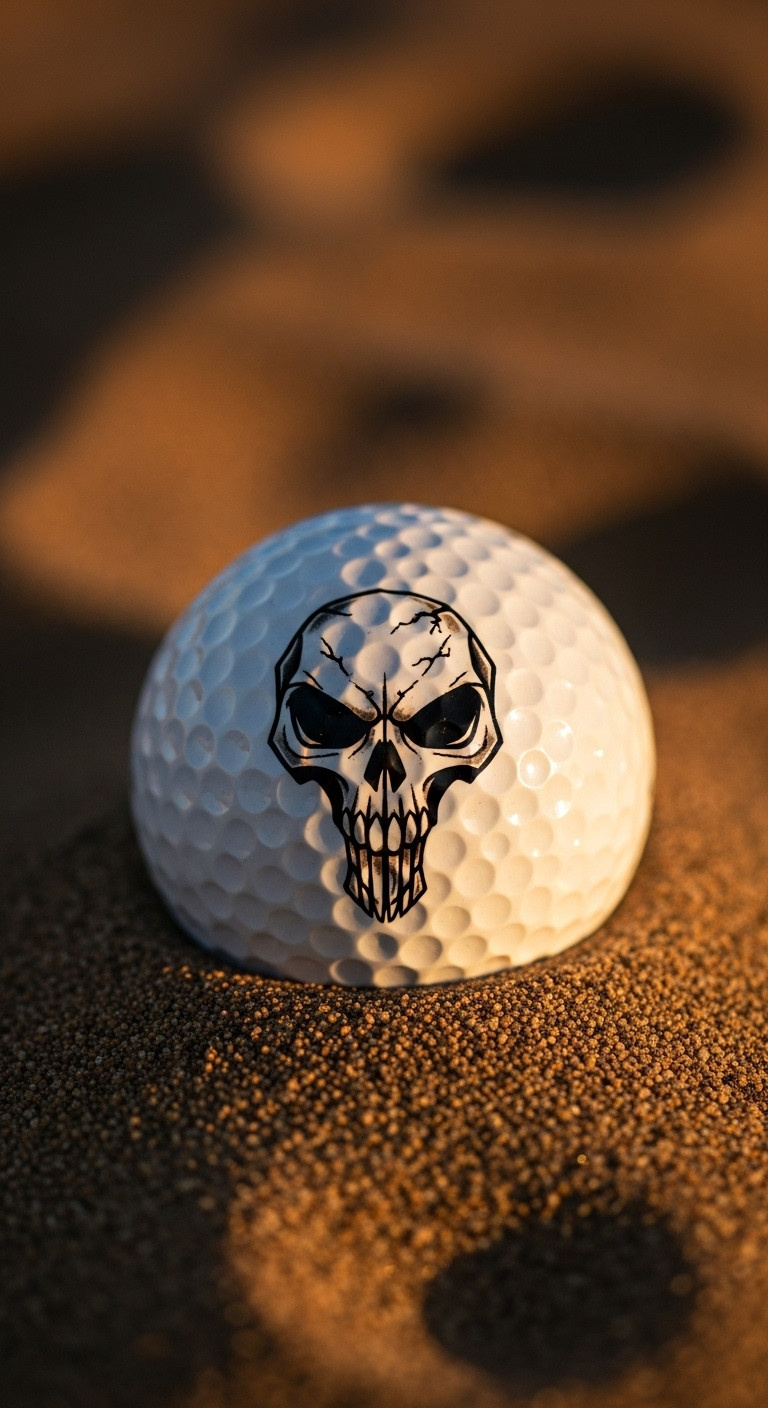
This is the way… to mark your ball. Pin this advanced design.
Materials Needed:
- One clean white golf ball
- Rubbing alcohol
- Black or Dark Brown oil-based paint pen (ultra-fine tip)
- A Mandalorian Krybes vinyl stencil is highly recommended for this design
- Clear acrylic sealer spray
Step-by-Step Directions:
- Prep: Clean the ball thoroughly with alcohol.
- Apply Stencil: Carefully apply the vinyl stencil, smoothing it out over the curve of the ball. This is the most important step for a clean result.
- Fill Stencil: Using your paint pen, carefully fill in the stencil. Use a dabbing motion rather than strokes to prevent ink from bleeding under the stencil edge.
- Remove & Dry: While the ink is still slightly wet, carefully peel off the stencil. Let the design cure for 24 hours.
- Seal: Apply several light coats of sealer to protect the intricate design.
Lesson Learned: For complex stencils, peeling it off while the paint is still wet gives you a much crisper edge. If you wait until it’s fully dry, the paint film can sometimes peel up with the stencil.
8. Baby Yoda (Grogu) Outline (Intermediate)
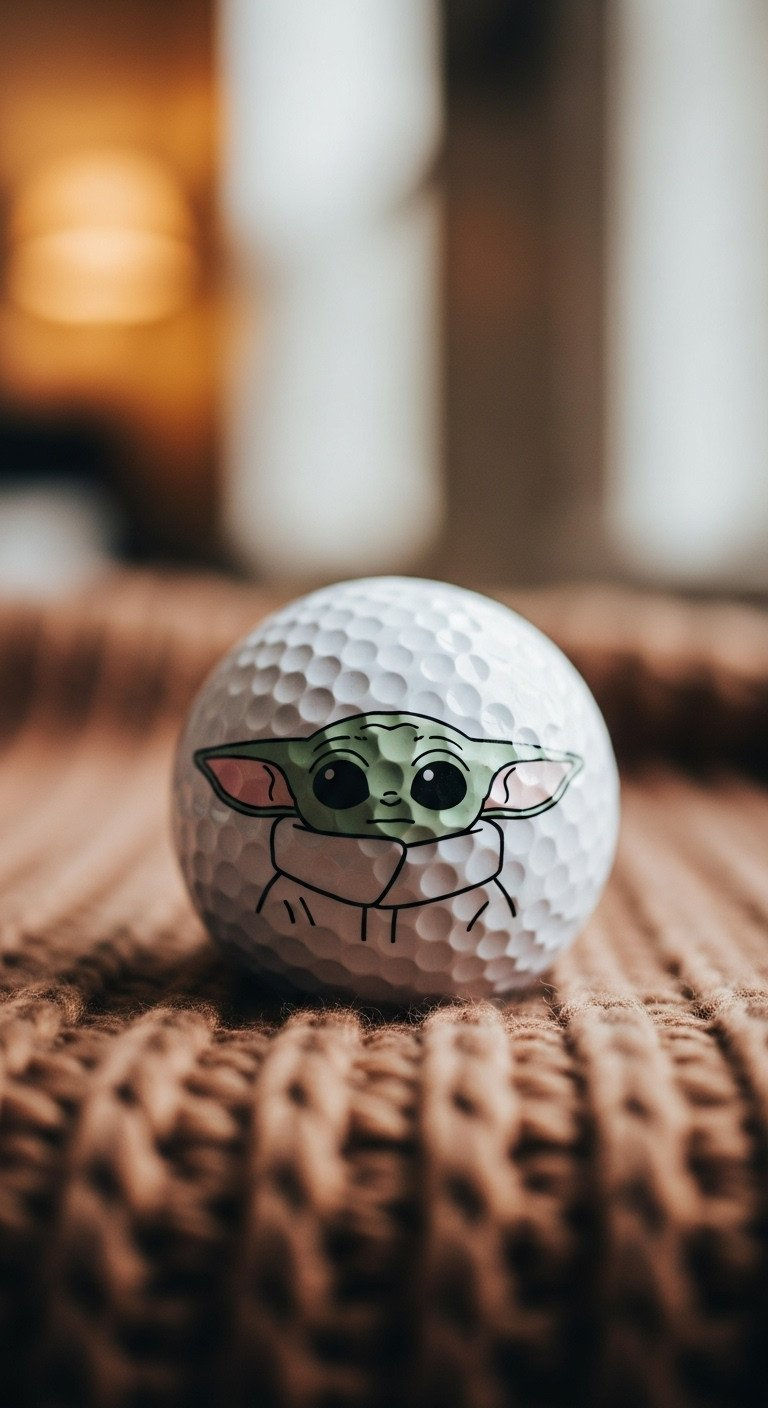
The cutest ball in the galaxy. Save this adorable idea!
Materials Needed:
- One clean white golf ball
- Rubbing alcohol
- Sage Green and Black oil-based paint pens (ultra-fine tips)
- Pencil for sketching
- Clear acrylic sealer spray
Step-by-Step Directions:
- Prep: Clean the golf ball with alcohol.
- Sketch Head: Lightly sketch an oval shape for Grogu’s head. Add two very large, pointed ears on the sides.
- Draw Features: Sketch in two large, black circles for the eyes.
- Ink in Green: Use the green pen to outline the head and ears.
- Ink in Black: Fill in the large eyes with the black pen. Add a tiny nose and mouth line. Let it cure completely before sealing.
Pro-Tip: The key to this design is the scale. Make the ears and eyes disproportionately large compared to the head to capture that adorable Grogu look.
9. Darth Vader’s Helmet (Advanced)

Impressive. Most impressive. Pin this ultimate challenge.
Materials Needed:
- One clean white golf ball
- Rubbing alcohol
- Black and Silver oil-based paint pens (ultra-fine tips)
- A golf ball vise or holder is essential for this level of detail
- Clear acrylic sealer spray (gloss finish recommended)
Step-by-Step Directions:
- Prep: Clean the ball and secure it in a holder.
- Sketch Outline: Lightly sketch the main dome and face mask shape. Pay close attention to the “widow’s peak” at the top and the flare at the bottom.
- Ink Main Shapes: Use the black pen to fill in the main helmet shape. Leave the eye lenses and triangular mouth grille white for now.
- Add Details: Use the silver pen to add details on the “cheeks” and forehead. Carefully draw the vertical lines inside the mouth grille.
- Cure & Seal: Let this complex design cure for at least 24 hours. Use a gloss sealer spray to mimic the helmet’s polished look.
Pro-Tip: To create a sense of depth, use the silver pen to add tiny reflection highlights on the top of the helmet and eye lenses after the black ink is dry but before you seal it.
Key Takeaways: Your Quick Guide to Flawless Star Wars Golf Balls
Here is a quick summary of the most important lessons for creating your own personalized Star Wars golf balls that last.
- Always Prep the Ball: Cleaning with rubbing alcohol is the non-negotiable first step for durability. It removes oils and helps the paint pen adhere properly.
- Use the Right Pen: Oil-based paint pens are far superior to standard Sharpies for a vibrant, lasting design on a non-porous surface.
- Patience is Key: Allow ink to fully dry and cure (ideally 24 hours) before you handle it or apply sealer. This prevents smudging and bleeding.
- Seal Your Work: Two to three light coats of clear acrylic sealer spray is the secret to a truly smudge-proof and waterproof design that can withstand gameplay.
- Start Simple: If you’re new to this, begin with an easy symbol like the Rebel or Imperial logo to build confidence before attempting a more advanced character helmet.
FAQs About golf ball designs sharpie star wars
What is the best pen to use for drawing on golf balls?
The best pen is an ultra-fine tip, oil-based paint marker. These markers provide opaque, vibrant color that adheres well to the non-porous surface of a golf ball. While standard Sharpies can work, their ink is more translucent and prone to smudging without a proper sealer.
Is it legal to use a golf ball with a drawing on it in a tournament?
Yes, it is completely legal to use a hand-drawn golf ball. The USGA Rules of Golf (Rule 6.5) actually encourage players to put a unique identifying mark on their ball. As long as the drawing is just a thin layer of ink and doesn’t affect the ball’s aerodynamics, it’s perfectly fine for casual and tournament play.
How do you keep Sharpie from smudging on a golf ball?
The only effective way to prevent smudging is to apply a clear acrylic sealer spray. After your design is completely dry (wait at least 24 hours), apply 2-3 very light coats of a sealer like Krylon Crystal Clear. This creates a hard, protective layer over the ink.
What are the easiest Star Wars symbols to draw on a golf ball?
The easiest symbols for beginners are the faction logos. The Rebel Alliance starbird, the Imperial cog, and the Jedi Order symbol are all excellent choices. They are iconic, high-contrast, and can be drawn with just a few simple lines and shapes.
Final Thoughts
Now you have the plans, the tools, and the techniques to turn your boring golf balls into personalized pieces of galactic art. Whether you’re fighting for the Rebellion or upholding Imperial order, your gear will finally reflect your allegiance. Go ahead, pick a design, and make your mark on the galaxy—one golf ball at a time.
Which Star Wars design are you going to try first? Let us know in the comments below
Last update on 2025-11-27 / Affiliate links / Images from Amazon Product Advertising API

