As an Amazon Associate GolferHive.com earns from qualifying purchases.
Easy Sharpie Fruit Designs For Golf Balls That Won’t Smudge
Struggling to find the perfect gift for the golfer in your life? It’s easy to fall back on the same old generic options.
This simple DIY craft transforms a standard golf ball into a personalized, whimsical keepsake. You can create adorable, hand-drawn fruit designs using Sharpie markers, turning a piece of sports equipment into a thoughtful, handmade gift that stands out. This is the perfect way to give a gift that is both personal and fun.
Decorating golf balls with Sharpie fruit designs is a fun, affordable way to create a one-of-a-kind handmade gift for any golf lover. In this guide, I’ll show you the exact materials and steps to create vibrant, smudge-proof designs that are sure to be a hit.
Why Settle for a Boring Golf Ball When You Can Gift a Fruit Salad?
Let’s face it, finding a unique golf gift can be a challenge. But what if you could give something that’s not just another item off the shelf, but a fun, colorful, and completely personal handmade gift? I discovered that creating a “fruit salad” set of golf balls was the perfect way to give a gift that was both functional for a casual game and full of personality.
This DIY craft is incredibly accessible, even if you don’t consider yourself an artist. It’s a chance to create something thoughtful and unique that shows you put in a little extra effort. Instead of a generic sleeve of balls, you’re gifting a smile, an inside joke, or just a splash of color to their game. It’s a simple project that brings a lot of joy, both in the making and the giving.
The Secret to Smudge-Proof Designs: Your Essential Toolkit
To make your designs last, you need the right tools. From my experience, the single most important choice is your marker. Standard alcohol-based Sharpies just bead up and wipe right off a golf ball’s non-porous surface. You must use oil-based paint markers because their ink is formulated to bond with materials like plastic and create a permanent design. This is the secret to avoiding the smudging and fading that ruins most DIY golf ball crafts.
Here are the key materials you’ll need for smudge-proof golf ball art:
- Clean Golf Balls: New or used, as long as they are clean and free of scuffs.
- Sharpie Oil-Based Paint Markers: The fine or extra-fine tip versions are best for this project. This is non-negotiable!
- Isopropyl (Rubbing) Alcohol: 70% or higher works perfectly for surface prep.
- Lint-Free Cloth or Cotton Pads: For cleaning the golf balls without leaving fuzz behind.
- A Clear Acrylic Sealant Spray: Look for one that is non-yellowing and offers UV resistance, like Krylon Crystal Clear.
- A Holder: Something to keep your ball steady while you work, like a bottle cap or an empty egg carton.
The 3-Step Method to Perfect, Permanent Fruit Designs
The entire process for creating durable, long-lasting art can be broken down into three simple stages: preparing your canvas, drawing your art, and sealing your masterpiece. Following these steps in order is crucial for a professional-looking, waterproof result.
1. Prep Your Canvas
The most important step for a lasting design is cleaning the golf ball thoroughly with isopropyl alcohol. This simple action removes any manufacturing oils, residue, or finger oils that prevent the paint marker ink from adhering properly to the surface.
- Pour a small amount of isopropyl alcohol onto a lint-free cloth or cotton pad.
- Firmly wipe down the entire surface of the golf ball.
- Place the cleaned ball in your holder (like a bottle cap) and let it air dry completely for a few minutes. Do not touch the surface with your fingers after cleaning.
2. Draw Your Designs
Now for the fun part! With your clean golf ball ready, it’s time to bring your fruit designs to life. Remember to work in a well-ventilated area, as oil-based markers can have a strong odor.
- Shake your oil-based Sharpie paint marker well with the cap on to mix the paint.
- Press the tip down on a piece of scrap paper until the ink begins to flow.
- Using your holder to keep the ball steady, lightly draw your fruit outline. It’s often easier to draw the outlines first and then fill them in.
- Apply color in thin layers to avoid the ink pooling in the dimples.
- Crucially, allow each color to dry for a few minutes before adding another color next to it. This prevents the colors from bleeding together.
3. Seal Your Masterpiece
This final step is what makes your artwork permanent and ready for the green. A common mistake is sealing the ink too soon. You must wait for the oil-based paint to fully cure, or the solvent in the sealant spray can make the ink run.
- Let your finished golf ball designs sit and cure for a full 24 hours. Do not handle them during this time.
- In a well-ventilated area (preferably outdoors), place your cured golf balls on a protected surface.
- Hold the clear acrylic sealant can about 8-10 inches away and apply a very light, even coat.
- Let the first coat dry for 15-20 minutes, then apply a second light coat. A third coat can be added for extra durability.
- Allow the sealed golf balls to cure for 48-72 hours before handling them or gifting them. This ensures the protective layer is completely hardened.
7 Easy & Cute Sharpie Fruit Designs To Try Today
Need some inspiration? Here are seven simple and adorable fruit designs that are perfect for beginners. Each one uses just a few colors and basic shapes to create a charming, handmade gift.
1. The Classic Cherry Duo
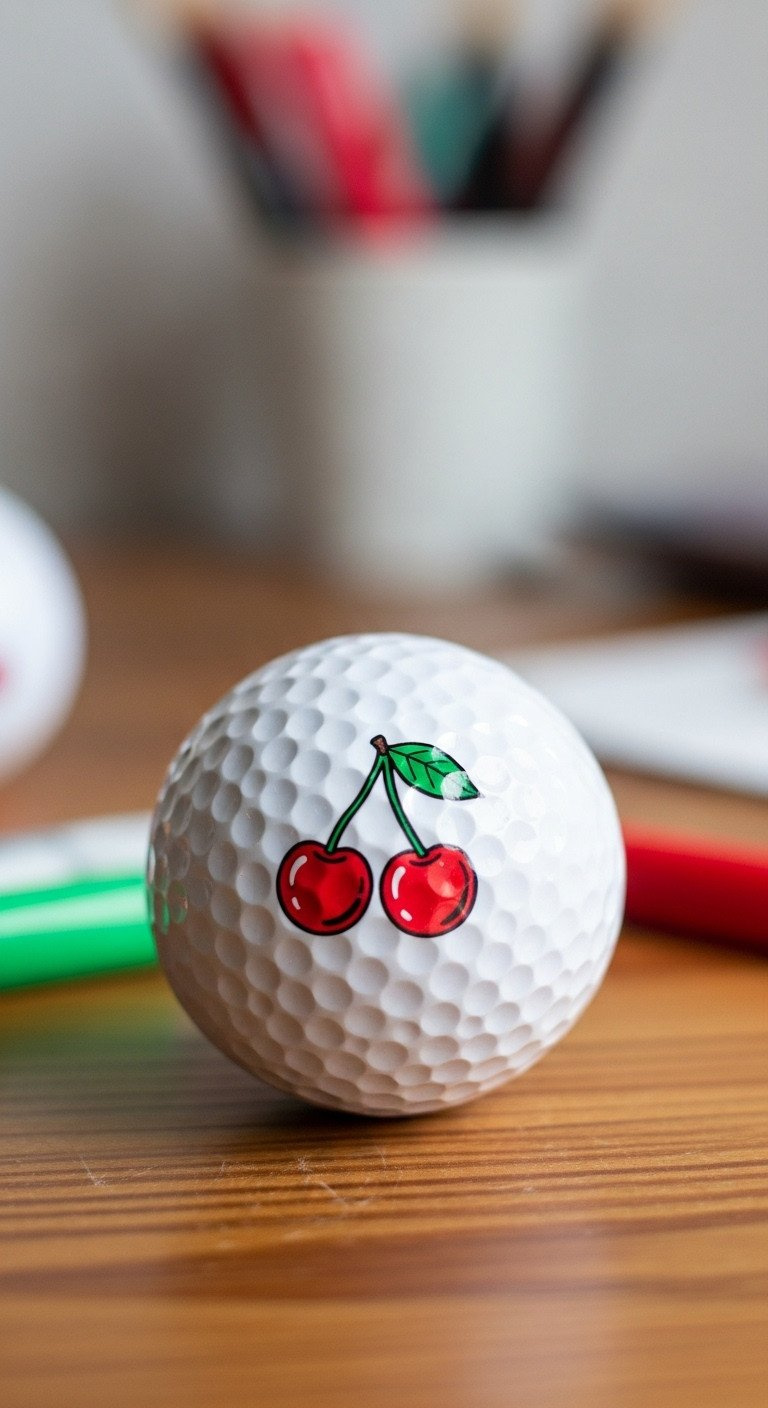
Pin this adorable cherry design to your ‘DIY Gifts’ board!
Materials Needed:
- Red Oil-Based Sharpie Paint Marker
- Green Oil-Based Sharpie Paint Marker
- Black Oil-Based Sharpie Paint Marker (Extra-Fine Tip, optional for shine detail)
Step-by-Step Directions:
- Use the red marker to draw two small, connected circles for the cherries. Fill them in completely.
- Let the red ink dry for a few minutes.
- With the green marker, draw a single curved line from the top of each cherry, meeting at a point. Add a small leaf to the stem.
- (Optional) Use the black extra-fine tip marker to add a tiny curved line on each cherry to represent a highlight.
Pro-Tip: Draw the two red circles first and let them dry completely before adding the green stem. This is the best way to prevent the colors from bleeding into each other.
2. The Sweet Strawberry
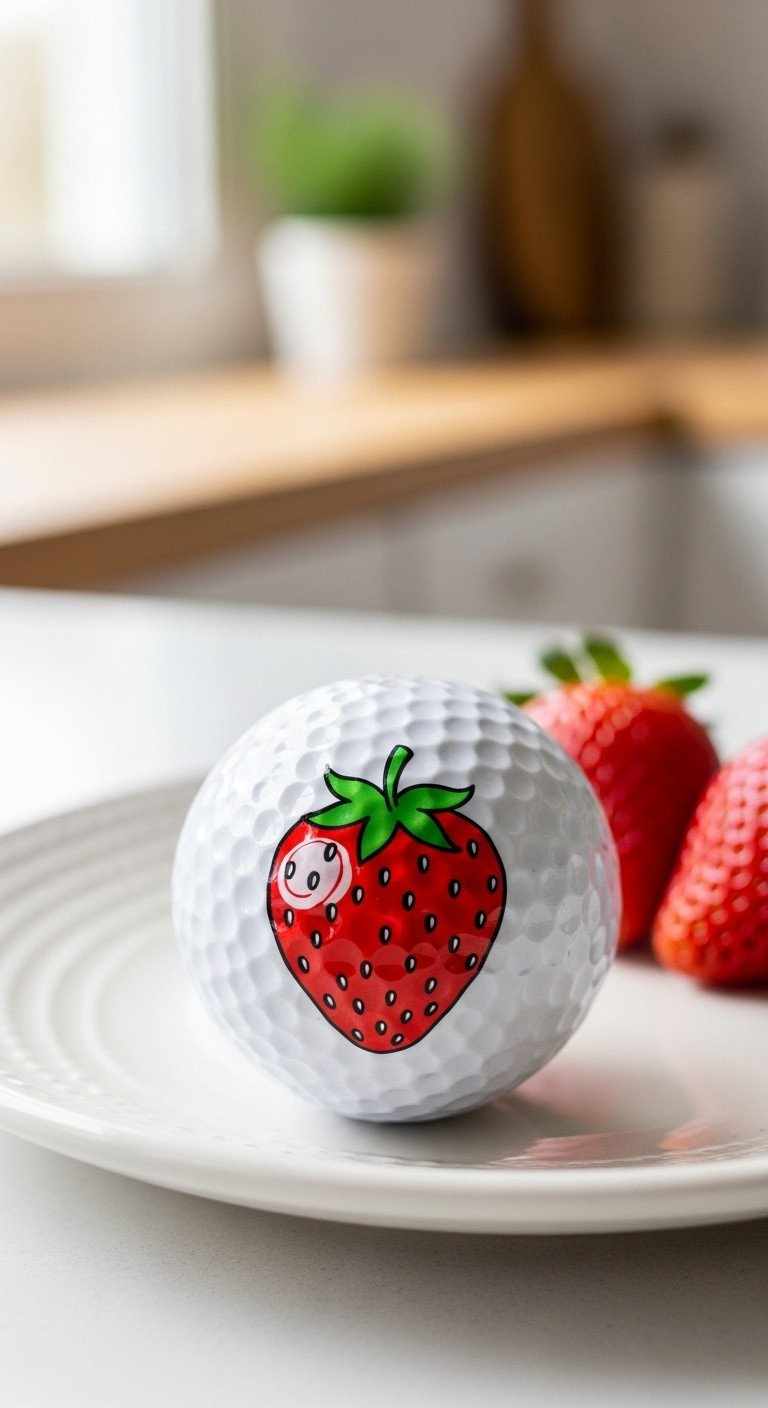
Save this sweet strawberry idea for your next craft project!
Materials Needed:
- Red Oil-Based Sharpie Paint Marker
- Green Oil-Based Sharpie Paint Marker
- Black Oil-Based Sharpie Paint Marker (Extra-Fine Tip)
Step-by-Step Directions:
- Draw a heart shape with a slightly rounded bottom using the red marker and fill it in.
- Let the red dry completely.
- Use the green marker to draw a “crown” of spiky leaves on top of the strawberry.
- Use the black extra-fine tip marker to add small dots all over the red area for seeds.
Pro-Tip: For the seeds, don’t press too hard. A light tap with the extra-fine tip marker will create the perfect dot without causing the ink to pool in the dimples.
3. The Zesty Orange Slice

Pin this zesty design idea for a splash of color!
Materials Needed:
- Orange Oil-Based Sharpie Paint Marker
- White Oil-Based Sharpie Paint Marker (optional, for crisp lines)
Step-by-Step Directions:
- Draw a large circle with the orange marker. This will be the outer rind.
- Inside the orange circle, draw a slightly smaller circle, leaving a thin orange border. The golf ball’s white surface can act as the pith.
- Draw straight lines from the center of the circle to the inner edge, like spokes on a wheel, to create 6-8 triangular segments.
- Carefully fill in the triangular segments with the orange marker.
Lesson Learned: It’s much easier to draw the outlines for the segments first and then fill them in. If you try to draw each segment individually, it’s hard to make them uniform.
4. The Sunny Lemon

Save this sunny lemon design for a pop of yellow!
Materials Needed:
- Yellow Oil-Based Sharpie Paint Marker
- Green Oil-Based Sharpie Paint Marker
Step-by-Step Directions:
- Use the yellow marker to draw an oval shape, but make the ends slightly pointed.
- Fill in the entire shape with yellow ink.
- Let the yellow dry for a few minutes.
- Add a small, simple leaf shape with the green marker at one of the pointed ends.
Pro-Tip: Don’t overwork the shape. A simple, slightly imperfect oval is what makes a lemon drawing look authentic and charming.
5. The Summer Watermelon Slice
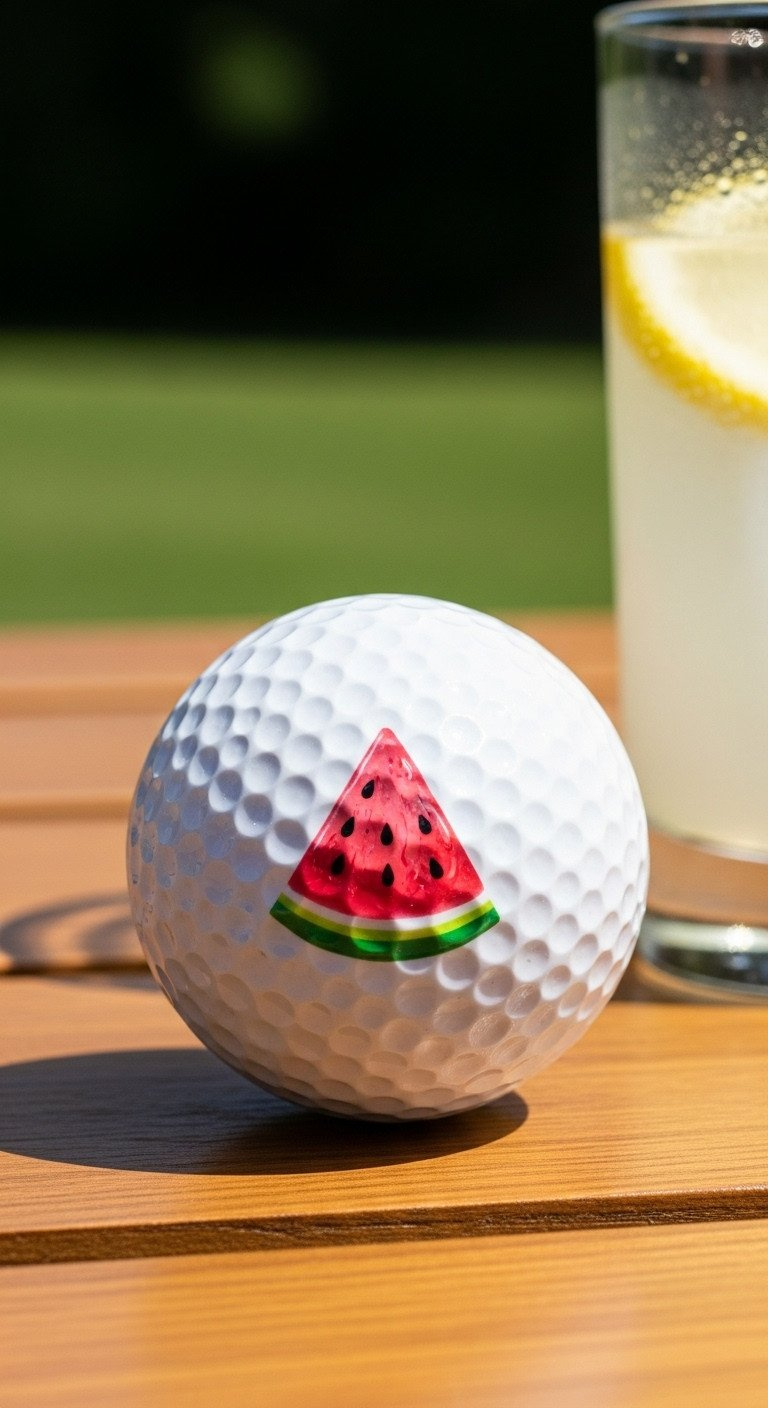
Pin this juicy watermelon design for a touch of summer!
Materials Needed:
- Pink or Red Oil-Based Sharpie Paint Marker
- Green Oil-Based Sharpie Paint Marker
- Black Oil-Based Sharpie Paint Marker (Extra-Fine Tip)
Step-by-Step Directions:
- Draw a curved line for the rind with the green marker. Fill in the area below this line to create a thick green band.
- Allow the green to dry completely.
- Above the green rind, use the pink marker to draw a large wedge shape, filling it in.
- Let the pink dry.
- Use the black extra-fine tip marker to add a few teardrop-shaped seeds to the pink area.
Pro-Tip: To get a clean line between the pink and green, you can leave a very thin sliver of the white golf ball showing between them to represent the white part of the rind.
6. The Georgia Peach
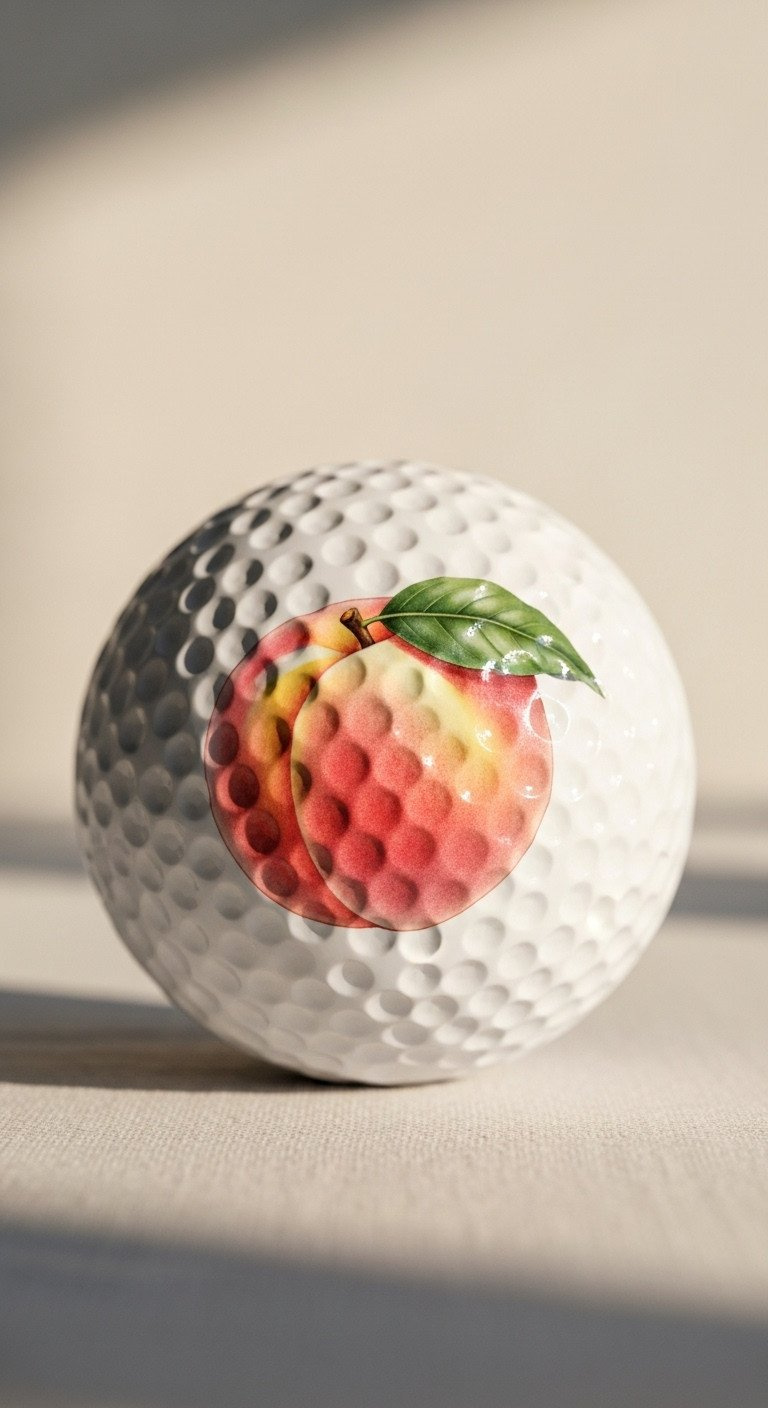
Save this sweet peach idea for a thoughtful, handmade gift!
Materials Needed:
- Peach or Light Orange Oil-Based Sharpie Paint Marker
- Pink or Red Oil-Based Sharpie Paint Marker
- Green Oil-Based Sharpie Paint Marker
Step-by-Step Directions:
- Use the peach/orange marker to draw a main circle shape, but add a little indent at the top and a point at the bottom, like a heart.
- Fill in the shape.
- While the peach ink is still slightly wet, use the pink/red marker to add a small blush of color to one side and blend it gently with the tip of the peach marker.
- Let the colors dry. Add a single green leaf at the top indent.
Lesson Learned: The “wet-on-wet” blending for the blush works best if you do it quickly. Have both markers uncapped and ready to go before you start.
7. A Little Bunch of Grapes
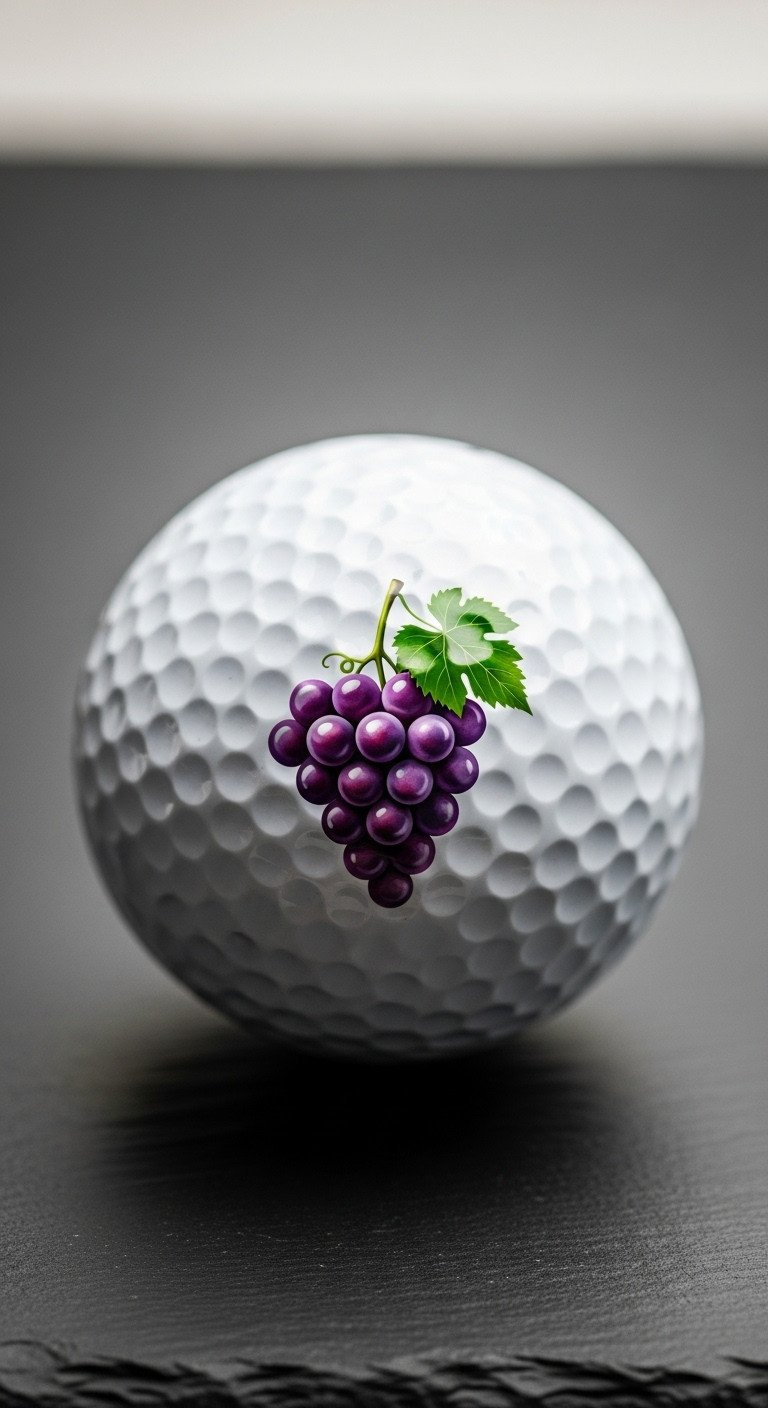
Pin this easy grape cluster design for a touch of class!
Materials Needed:
- Purple Oil-Based Sharpie Paint Marker
- Green Oil-Based Sharpie Paint Marker
Step-by-Step Directions:
- Using the purple marker, draw a small cluster of overlapping circles in a rough triangle or bunch shape.
- Fill in each circle carefully.
- Let the purple dry completely.
- Use the green marker to add a small stem and a single leaf or tendril coming from the top of the cluster.
Pro-Tip: Start with the circles at the bottom of the bunch and work your way up. This makes it easier to create a natural-looking cluster.
Key Takeaways: Your Quick Guide to Perfect Sharpie Golf Balls
Here’s a quick summary of the most important steps for success in this fun DIY project:
- Always Start Clean: Wipe every ball with isopropyl alcohol to remove oils. This is the #1 step for making your design last.
- Use the Right Tools: Oil-based Sharpie paint markers are essential. Regular Sharpies will smudge and fade almost immediately.
- Patience is Key: Allow ink to dry between colors to prevent bleeding, and wait a full 24 hours for the entire design to cure before sealing.
- Seal for Permanence: Apply 2-3 light, even coats of clear acrylic spray to protect your art from moisture and wear. Don’t forget the 48-72 hour final cure time!
People Also Ask About DIY Golf Ball Designs
Will Sharpie rub off a golf ball?
Yes, a standard alcohol-based Sharpie will rub off a golf ball very easily. To create a permanent design that won’t smudge, you must use oil-based paint Sharpies. Even then, the design needs to be protected with 2-3 coats of a clear acrylic sealant to make it durable enough for casual play.
How do you make Sharpie permanent on a golf ball?
The key is a three-part process: proper prep, the right marker, and a protective sealant. First, clean the ball with rubbing alcohol. Second, use an oil-based paint marker for the design. Third, after the ink cures for 24 hours, apply a few thin coats of clear acrylic spray. Allow the sealant to fully cure for 48-72 hours for maximum durability.
Will the Sharpie ink transfer to my golf clubs?
If you don’t seal the design, the ink will definitely transfer to your clubs. However, if you use oil-based markers and properly apply a clear acrylic sealant, the protective layer will prevent the ink from rubbing off. For casual play, a well-sealed ball should not mark your clubs.
Is it hard to draw on the dimples of a golf ball?
It can be tricky, but using a fine-tip marker helps. The best technique is to use a light touch and apply color in thin layers to prevent ink from pooling in the dimples. Outlining your design first and then carefully coloring it in gives you more control and a cleaner result.
Final Thoughts
Now you have the complete method for creating adorable, durable, and personal golf ball designs that are guaranteed to make any golfer smile. This project isn’t just about decorating—it’s about taking a few simple materials and turning them into a thoughtful gift that’s filled with personality.
What fruit design are you excited to try first? Share your ideas or your own creations in the comments below
Last update on 2025-12-25 / Affiliate links / Images from Amazon Product Advertising API

